
On my website I have several pages on bread making but I have decided to do a more simple page on making white bread by hand.
My daughter makes bread using the dough cycle of a bread machine and I normally make it by hand. Recently she has been having issues with her bread machines and has asked for a refresher page on making bread by hand.
Recipe for two loaves
This recipe is using honey instead of sugar because it seems that honey may help the bread to not dry out as fast.
There will be six ingredients: honey, water, active dry yeast, olive oil, bread flour, salt.
1/3 cup of honey
1 & 1/3 cups of warm water about 105 degrees
2 & 1/2 teaspoons active dry yeast
4 Tablespoons of olive oil
4 even cups of bread flour
1 & 1/4 teaspoons salt
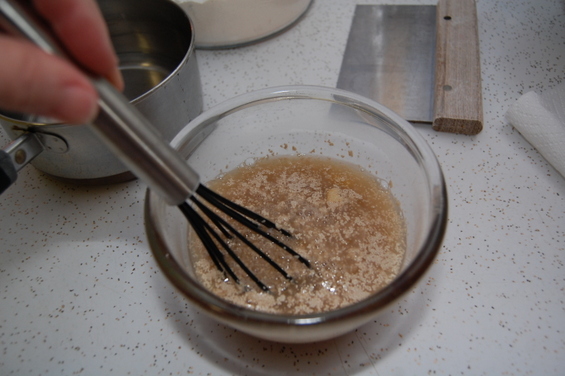
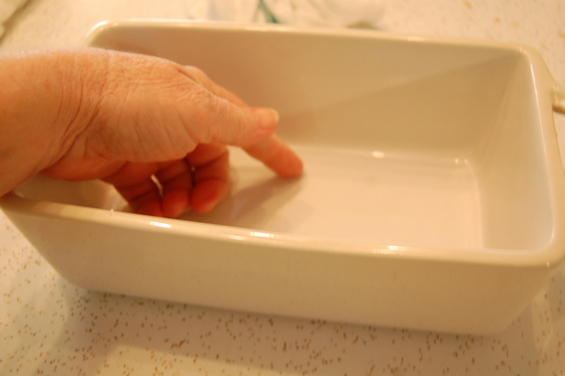
This bowl is bigger than it looks in this picture.
In a small bowl put the honey, yeast and about half the warmed water and give it a whisk until the yeast is dissolved. Then set is aside for 5 to 8 minutes or so.
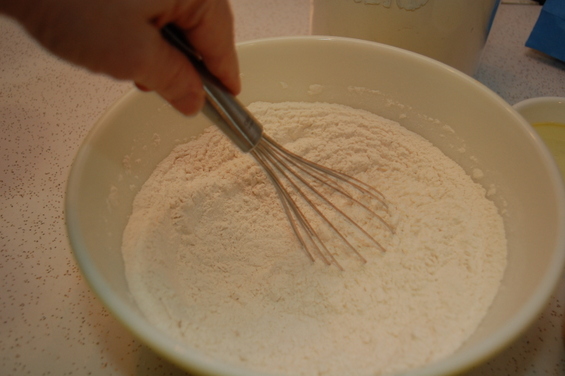
Place 4 cups of bread flour and the salt in a large bowl and whisk or toss the flour around a bit to disperse the salt into the flour. Then make a small well in the center.
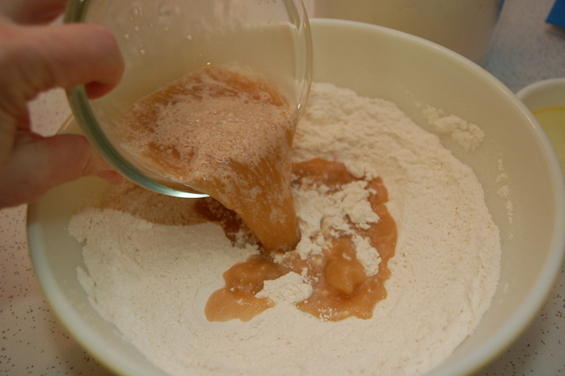
Add the yeast, honey, water mixture.....
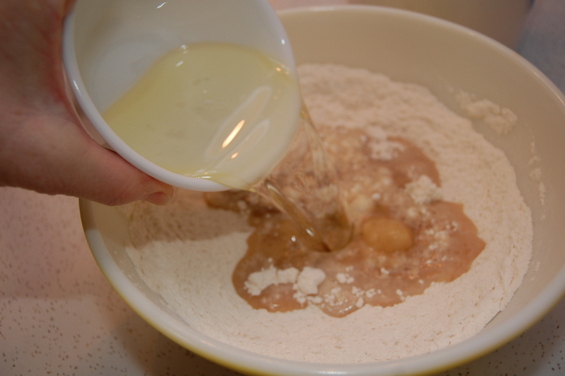
Then the rest of the water and oil..... I normally add the oil to the water.....
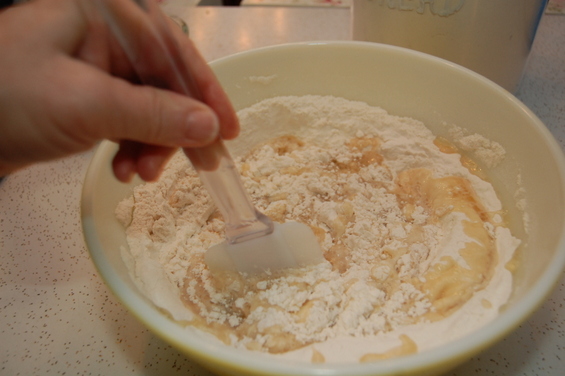
Mix with spatula or wood spoon until it is somewhat combined then use your hands to get it to somewhat of a dough. You don't have to fuss with it too much at this point.
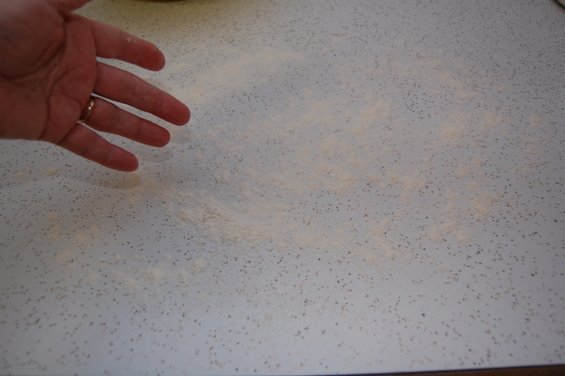
Toss a bit of flour on the counter or bread board , not too much flour just a bit.

Sprinkle a small amount of top of the dough and then start kneading. If it becomes too sticky just sprinkle a little more flour.

I cannot knead bread and take pictures so I dug out an old photo of the position of my hand when I knead. But with practice you can figure it out.
To have a nice soft dough it is important to not add too much flour while kneading. If you keep the dough moving fast and knead as if you are in an exercise class and slap it around and push it down and keep it moving only sprinkling the dough with flour off and on you will come up with a nice soft dough. How long? Oh 5 to 10 minutes or until you are tired. It is a good work out. 8 minutes will do it.
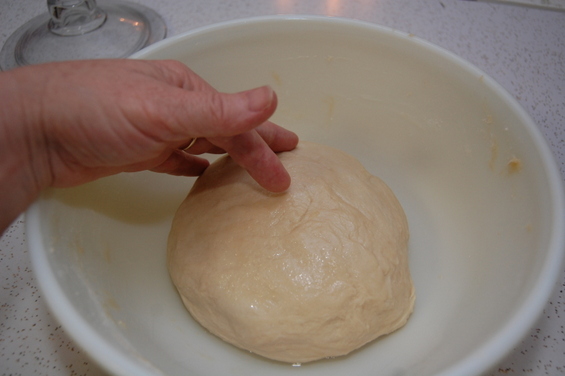
Then you have your nice kneaded ball of dough. There will be two rises, this rise and then the rise after putting it in a pan.
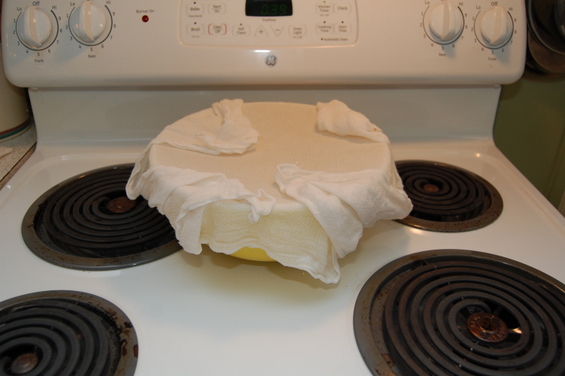
You can now cover the bowl with a damp cloth and let it sit in a somewhat warm area for about 1 hour.
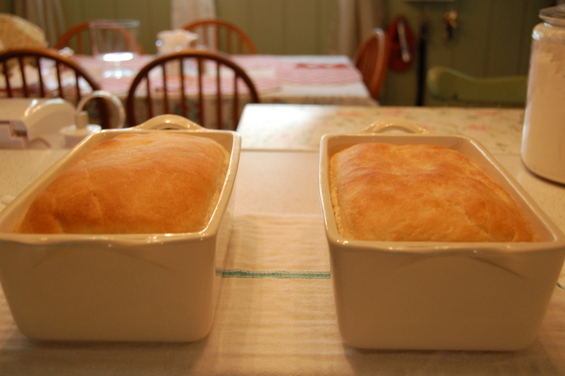
Oil two bread pans then divide the dough in half and place each half in a pan and press it down into the pans. Place it in a warm place I use the oven with the light bulb on and let it rise for about an hour or hour and half depending on the warmth of the area it is rising.
After this last rise it is time to preheat your oven to 350 and bake the bread for about a half hour. If your bread was sitting in the oven during rising time remove the pan from the oven during the pre-heat.
Bake for about 30 minutes.
Remove from the oven when bread is done and place on a cooling rack. I normally cover my cooling rack with a thin towel so the cold metal rack does not bread my glass pans.
I leave my bread in the pan for 20 to thirty minutes then turn it upside down to release the bread. If it does not want to come out of the pan give it just a little bit longer so it will sweat around the pan to help it release. I also run a flat knife around the sides of the pan.
Once the bread releases from the pan place on a uncovered cooling rack to cool.
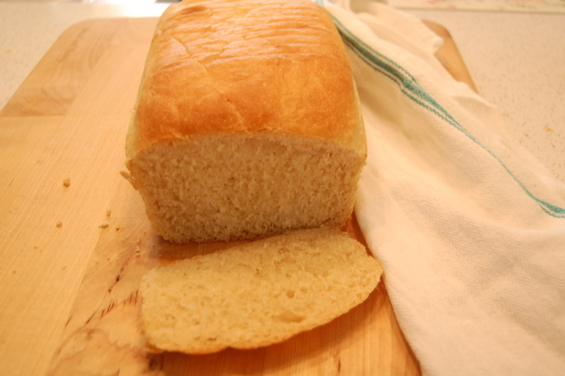
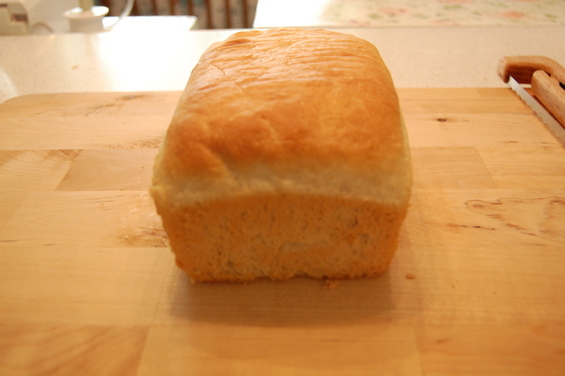
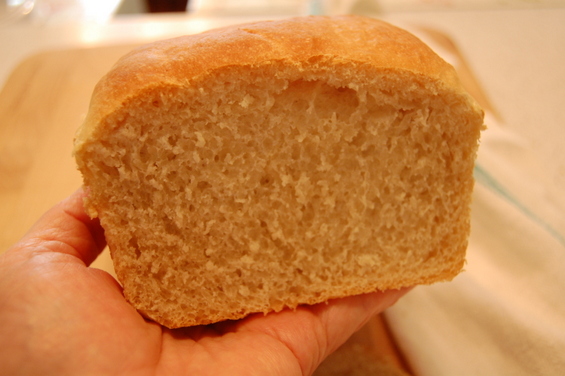
Now if you let it cool long enough and did not tear the bread apart and smear butter all over it and eat it this is what it should look like.

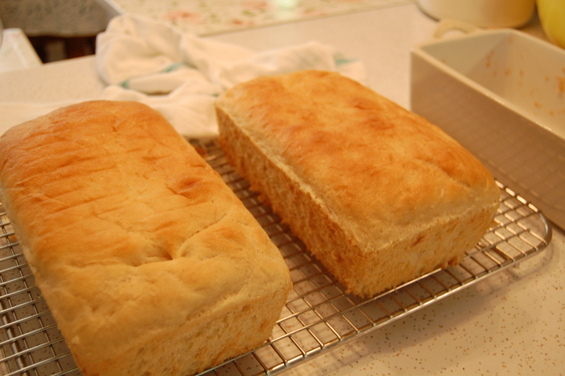
Back to this picture, I did an experiment and I made two different batches of bread this day. The bread on the right I put all the ingredients in the bowl and mixed up with my spatula and hand and then kneaded as usual. The bread on the left I put the yeast, honey and warm water in a bowl and let the yeast proof a bit before putting into the flour.
I wanted to see if you could just put it all together and get the same outcome. I normally always proof my yeast first and as you can see there is a bit of difference in height but the other thing is the one on the right also took thirty extra minutes to rise each time. So by proofing the yeast you cut quite a bit of time off the rise times for this bread.
 Enjoy!

