
The story of our evolving Worm Bin
Our failures and Success!
I am fast becoming an expert on how NOT to do things. My gut has been tugging at me that our family should do better
with conservation since our environment seems to be suffering from something that
is causing changes to our weather and ability to grow food due to too much heat,
too much water, not enough water etc. My husband and I first made a solar oven
which is another story, then made a bin for worm composting to recycle food scraps
and give back to the earth. I read constantly about both of these issues and
thought that it would be simple but……
Day 1 The worm composting bin

This is how not to do it
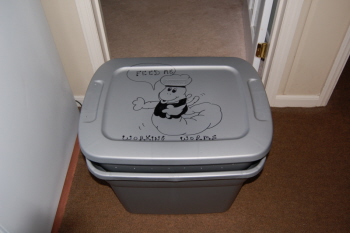
First I purchased three - 18 gallon plastic storage containers, a soft gray color
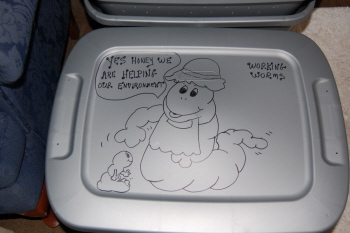
for a nice clean simple look. I drew a little art work on the top and drilled
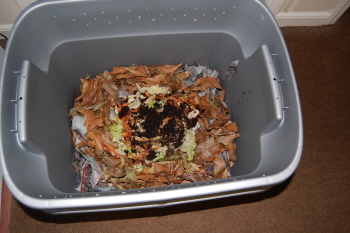
small holes on the sides and bottom. Put a plastic screen in the bottom, shredded
newspaper, gathered leaves, a little soil, dampened the newspaper, added a small
amount of decomposing veggi scraps then added about 400 red wigglers from a local
bait shop.
I put the container into another container to catch any possible fluid, put the
lid on and had a talk with myself that I would adjust to these creepy worms.
One day soon I will be more comfortable with my new worm family and will be able
to touch them. I was so happy with this accomplishment…
Two hours later to my squeeling panic attack, our new worms were crawling out
of their new home. Crawling is a nice word and slimming out of the box was more
like it. They were hanging in clumps off the inside handles. They were on the
outside! I just could not touch one, I had not made friends yet and how could
they not like their new home? I frantically found objects to help me scoop them
up and put them back. I took off the decorative top and put a board over the
container and bricks on top. I slumped back to get my composure.

Back to the computer to research why they could be climbing out because what
I had read before was to make this simple worm bin and do what I had done. With
further reading I found that this was common for the worms to escape the first
day (Or was it?) Possibly I should have let their bedding settle a few days before
adding the worms..
My husband came home from a long day at work and admired the new worm bin. I
told him that they were trying to escape but I thought I had fixed that problem.
Then……………
Then……………
Day 2 5:30 AM………
I ventured out to the porch only to discover that there were worms everywhere.
They were still escaping! My husband came to the rescue and in his boxer pajamas
and crawled around the porch picking up escaping worms and putting them back in
the container. I started quickly researching the internet again to see what I
could do now since I should have waited about a week to let this new home settle
to make a more inviting environment and I should have not fed right away.
I decided to make another home with larger air vent holes with screen wire.
I read where you do not want to put them in prison and they will stay if their
environment is right but I need them to stay so they can make their environment
right because I already have them! A few did try to return to the bin on their
own when the sun came up because they did not like the light. I am not sure how
many actually got away and how many are left at this point. I still cannot touch
them no matter how hard I try…….
Continued day two afternoon…..
I dampened part of a newspaper that was not shredded with bottled spring water
and laid it across the top of the worm bedding and worms. I realized that I had
dampened the shredded paper with city water and this had chlorine and that could
have been a mistake. This new non shredded dampened paper seemed to settle the
worms.
I decided not to transfer the worms to the new container because they were not
climbing out anymore. My husband and I cleaned out a shed and decided to let
them have this space so they would be more protected. We checked occasionally
to see if we had any more escaping and there were none so we decided to go to
bed and hope for the best.
Day Three………
5:30 Am we ventured out to the shed and tiptoed in with a flashlight looking
for escaped worms. To our surprise there were none. They were snuggled under
the top layer of the newspaper cover and laying in and around the food scraps.
This was exciting. During the day, only occasionally, I peeked in to see if they
were ok and getting enough oxygen.
Day three evening we decided to put a small amount of food scraps under the slightly
damp newspaper. We gave them a sparingly amount of cucumber scraps, a tiny piece
of tomato, a few peas, a few pieces of lettuce and carrot peeling. We will adjust
according each day as we see if they are eating the new scraps. So far things
are looking up with our new friends.

Well, it has been quite awhile (months) and all our worms in the bin just vanished
or died. I did not have the heart to try again before talking to someone that
had real experience with feeding and raising worms.
I was advised to put the worms in the ground. A family member had a worm bin
at the side of his house for years. They simply spread scraps over a bricked
in area and the worms would come up at night to eat.
One day I was digging in the dirt to get an area ready to plant. To my surprise
there were many worms and these were the same type (red wigglers) that we had
in the plastic worm bins. It seems that the worms that had managed to escape
from the first attempt found a place to live and raise their families. They made
their own worm bin next to the back of the house! Wooohoo!
Oh by the way, we are composting our food scraps, leaves and grass clippings
in a compost bin and that is doing well, we just temporarly gave up on the worm
bin.
So here we go again!!
NEW
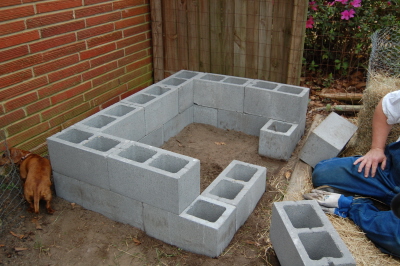
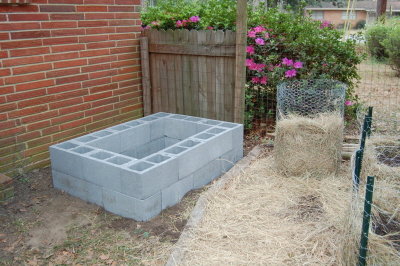
The new improved outdoor worm bin
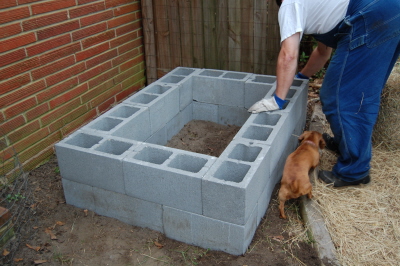
Inspector Katie checking things out.......
Needs landscaping
Now we need to make the hindged lid coming soon.................
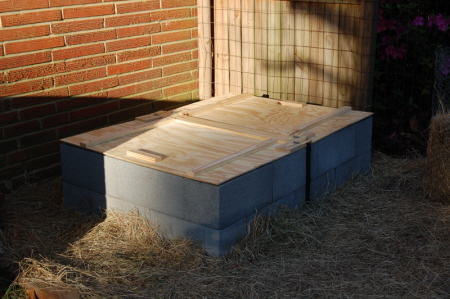
The new lid hinged in the middle so you can lift each side seperatly to feed.
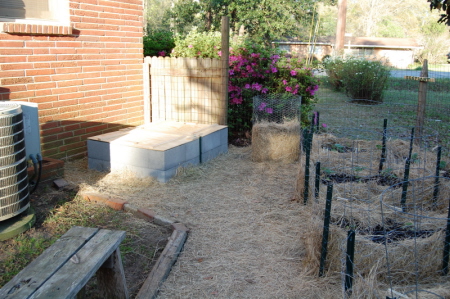
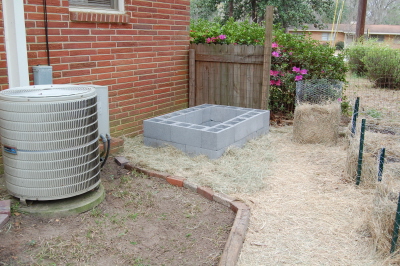
Worm bin located at the side of the house.
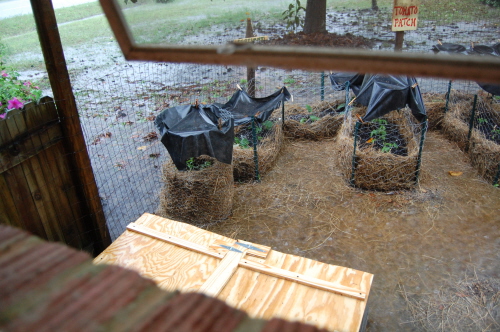
Well things have not gone so well today with the new worm bin, we had over six
inches of rain just today on top of two inches the two days before......more

Yes this is water surrounding the new worm bin and water is inside as well.
But the good thing is we have not added the worms. We will have to rethink the
location of the worm bin. This was a record breaking rainfall and the entire
city had severe flooding.................
Here is the new news!
My neighbor has been raising worms now since I started trying to raise worms
and his worms are multiplying and doing great. So, I have decided to do this
his way.
BEFORE YOU GET YOUR WORMS:
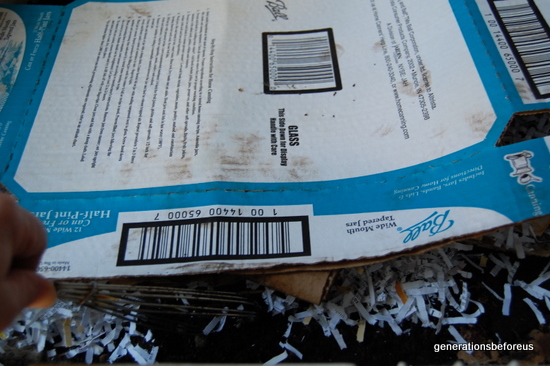
Get some peat moss and soak it in water for 24-48 hours. You need about 12 inches of this soaked peat moss. It should be the consistancy
of a just squeezed out sponge. Add a little dirt/compost/sand then some cardboard
pieces. Put very small holes in one end of the bottom of the container and tilt
the container in the direction of those very small holes. This will drain the
"tea" from the container. If you raise this container you can catch this tea.
I will post photo's soon.
You may need a light to use for a short time to place over the container to encourage
the worms to stay. Once they are settled you will should be able to turn off
the light.
Update: #1
It has been six months now since I posted this last method and the worms are
doing great! They are having babies and eggs are everywhere. I have been feeding
them small amounts of bunny poop and I give them small amounts every other day.
I also give them cardboard and I keep a feed sack over them which they are eating
as well.
Now it is getting time to seperate them and take their gift of composted soil
and spread it on the garden. I have many more worms than I started with and may
have to make second container. I used soaked peat moss with cardboard scraps,
some soil from the back yard (Very small amount). I have had to top off their
container once with extra soaked peat moss because I felt they were slowing down
with their eating.
I keep a water can nearby and when I feed them I sprinkle their bed with water.
There is a drainage hole in the bottom of the container and I catch the tea that
comes from the container and I use it on the garden. First I water it down until
it looks like tea then I pour it on the soil under the plants.
Update #2
It has been over a year now and the worms are doing great and we have expanded
to our keyhole gardens.
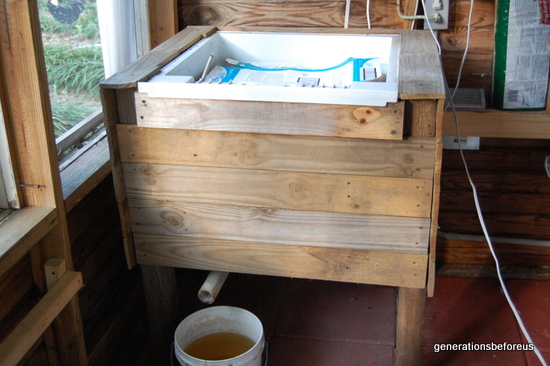
This has been our worm bin for over a year now. This is a handwashing sink purched
from our lumber company. It was about $50.00. My husband built a wood frame
around it when we were using it for an outdoor clothes washing area. We decided
to use it for the worms and put it inside the bunny house. It has a drain on
the bottom and the worm juice goes into the bucket.
I put a piece of screen down in the bottom drain hole so the worm castings do
not go through, only the water.
We do not put a lid on it and just keep cardboard over the top. We put a low
wattage bulb for night so the worms will not leave. I believe they would stay
just fine because we have forgotten to turn the light on before and nobody left
that we know of.
I will lift the cardboard to show you the worms. I just fed them today some
rabbit poop and some shredded paper. I never overfeed and only feed them when
they have eaten all the food and are feeding on the cardboard. I water only about
once a week and it will drain out the bottom.
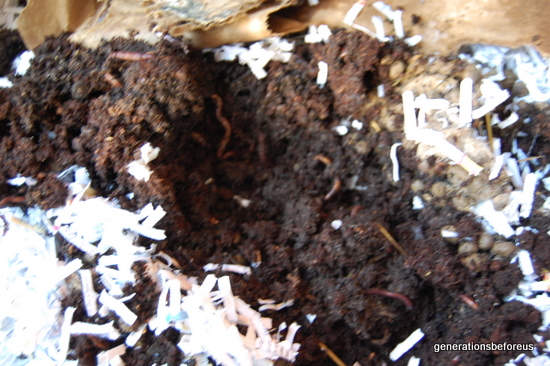
I gently pulled back some of the soil/castings to show you the worms. There
are probably several thousand worms in this bin. I will try and count when I harvest
next time.
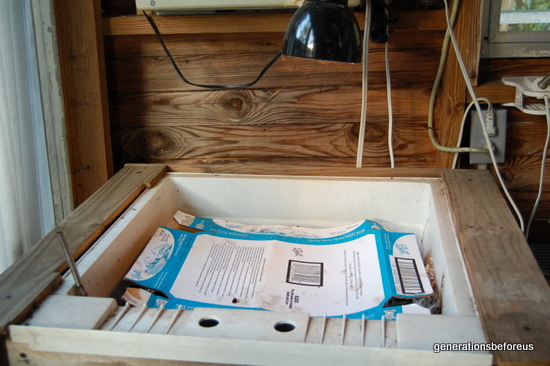
This is the light over the bin
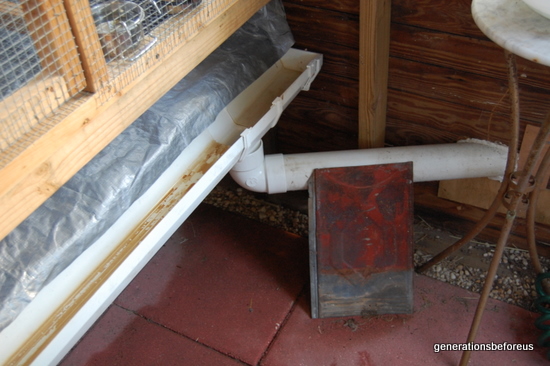
We use bunny poop to feed the worms. Their cage has a trough that catches the
bunny poop. This is the drain going outside from the bunny tray. Look on the left hand side
of this website and check out the Bunny section and you can see how I collect
bunny poop and their cage.
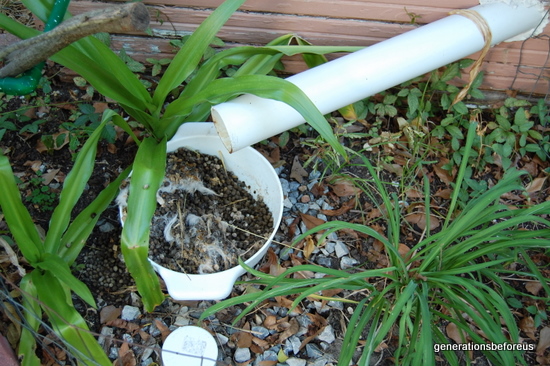
The bunny poop drains out to an inexpensive kitchen drain basket.
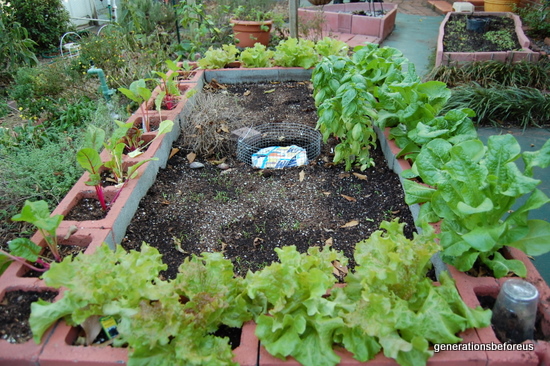
One of our keyhole gardens. In the middle of this tall raised bed is a compost
bin. There are worms in this wire ring. I feed them small amounts of compost
and put cardboard over the top. They are remaining in the compost bin. So far
this is working well. I have carrots planted in the inside of this bed. This
small composter in the middle is to keep this bed fertilized.
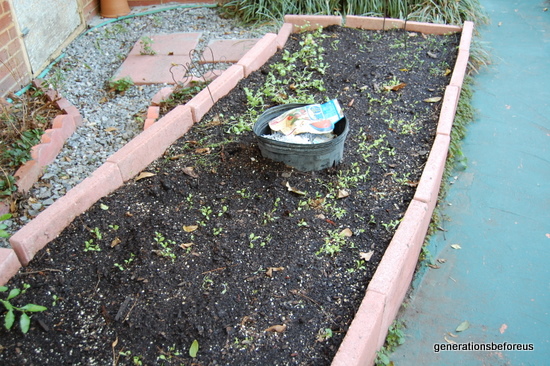
This is another keyhole garden. It is fall now so I have newly seeded lettuce
emerging as well as radishes and cilantro. Another worm bin in the middle to
fertilize this bed. Again I simply just keep cardboard on top of this small compost/worm
bin. I have noticed that it provides a good eco system. There a few frogs that
are visiting this bed.
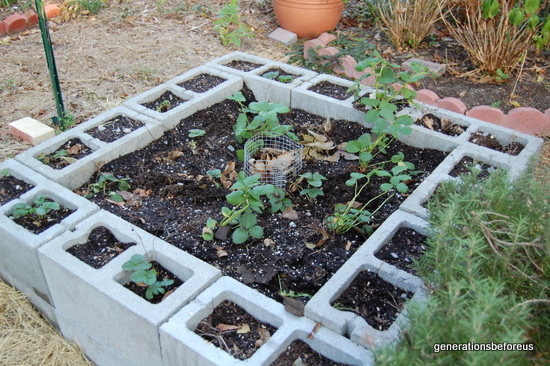
This is our strawberry raised bed. A small worm bin in the middle, I feed all
of the raised bed keyhole gardens a small amound about twice a week of food scraps
in the center. There are always worms there when I pull back the cardboard to
feed them.
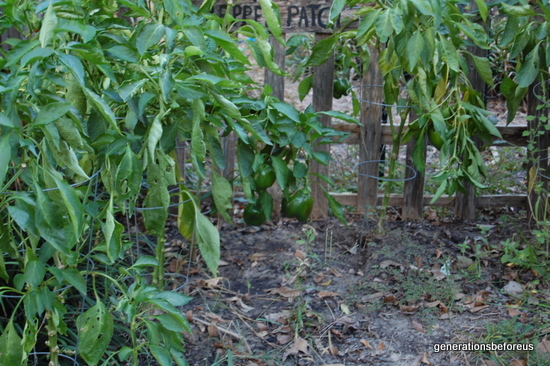
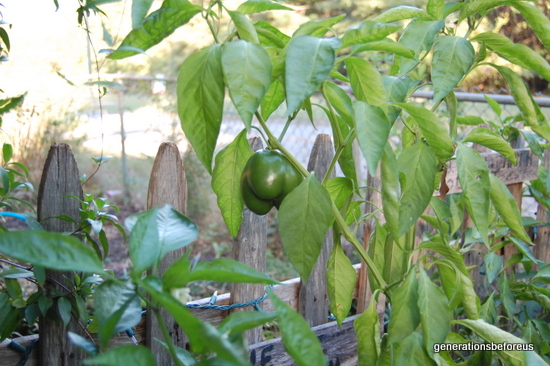
We have been in a drought and even though everything is stressed where the worm
compost and worm tea has been applied the outcome is good. We have had an abundance
of bell peppers.
Hope this has given you some good information. I am always posting our failures
and success stories. Please stay awhile and look at our many topics.

