
Charles is a wonderful man and I love him so very much. He will do whatever it takes to do what is right. He has a good spirit and prefers the calm side of situations.
Charles is sensible and if something needs to be done he does it. Even in situations that are tense and maybe not exactly what seems right at the time with his work, he says, "yes sir", or yes ma'am" if that is what needs to be heard at the time. But if it is not proper or the right thing, he will let a situation cool down and then make sure it is done right and proper. People respect Charles because they know he is a good man.
I am more hyper, nervous and he calms me and I energize him. lol
Charles is always busy working on something, neither of us are leisure people. He loves nature and history. His adventures are such as our history projects or learning new things and he is very aware of the wildlife and protecting them and he understands both sides of things unless they don't make sense.
Charles is what common sense is all about.
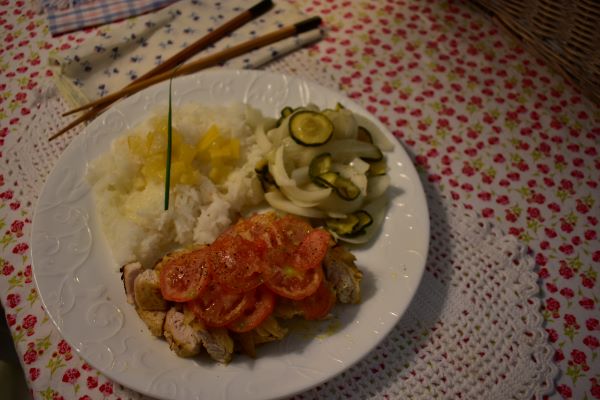
Charles is also a very good cook when he has the time as he enjoys cooking our Saturday "fancy" meals.
The zucchini is from our dehydrated zucchini and the preserved lemons over the rice is from our last fall lemon harvest.
Early on when the virus pandemic started Charles said, I don't want to get this virus and I don't want to bring it home to you. Since we had studied about the 1918 flu pandemic we knew that masks would be necessary so I made some masks and he started wearing them early on before most people wore them.
People started asking him where he got his masks from and he would say, "my wife made it". Next thing he would come home and ask me if I could make so and so one. And I started sewing masks.
But then fabric and thread flew off the shelves and I had to work with what I had and things got busy and I stopped sewing masks as people started finding ways to buy masks.
But people still ask him where he gets his masks so I am putting out a post on how I make these masks.
I wanted a good mask, one that would actually help filter the best I could make it so Charles would not get sick nor I. I kept revising the masks until I felt it was the best I could do so this is how I make them.
I have been wanting to do a post on this for awhile but knew it would take a lot of time with taking pictures and sizing and editing and such and I wanted to do it right so this will be long due to all of the pictures. I will show you step by step.
The fabric I use is cotton print etc. But I make mine where the inside has a different color mouth area so there is no mix up on putting it on backwards and infecting ourselves. I use white cotton for the inside piece.
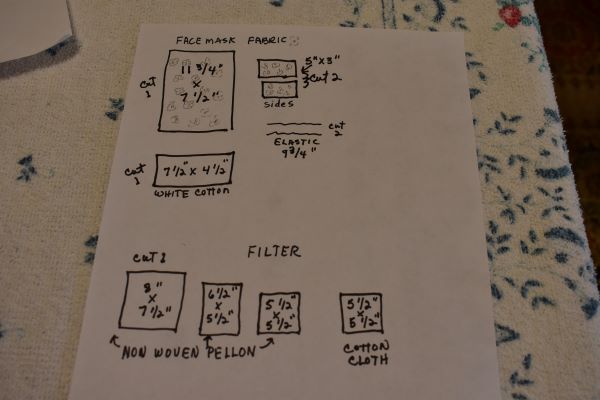
I cut three pieces out of the outside fabric. First piece is 11 3/4 inches by 7 1/2 inches and two pieces that are 5 by 3 inches, these are used for the side pieces on each side of the mask.
Then I cut a piece of white cotton fabric that is 7 1/2 by 4 1/2 inches. This will all make sense as we go along.. I hope...
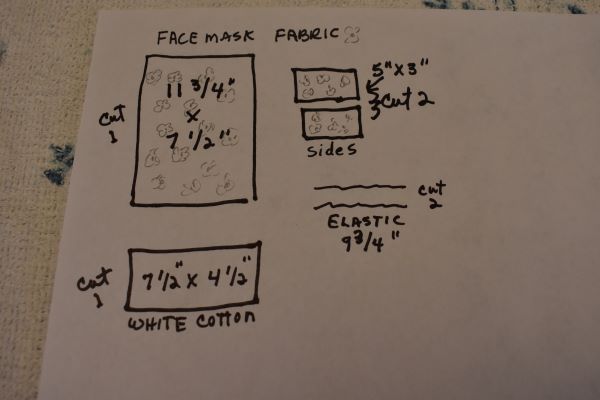
I also cut two pieces of elastic, each is 9 3/4 inches long. Then there is the filter I put inside described below.
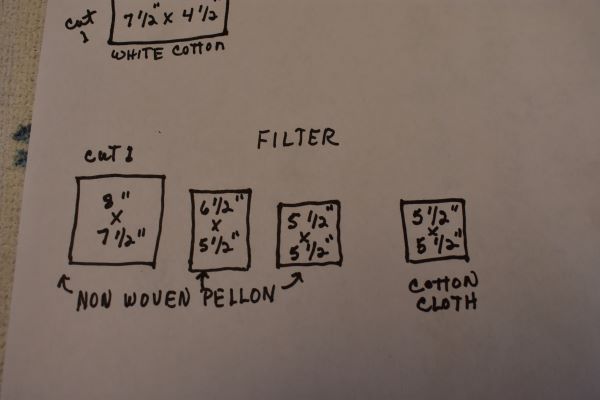
I studied as best I could to see what would be best to put inside to filter. I did not want a removable one but one sewn in and the whole mask washable.
I read that a non woven pellon or chiffon or something like that would help. So I found some "Non woven" Pellon. I build the filter so to speak and I do it so it would protect from both sides, inside and out. I will explain all of this with pictures to follow.
The three pieces of non woven pellon are cut out, one piece is cut 8 inches by 7 1/2 inches, one is cut 6 1/2 half inches by 5 1/2 inches and a piece of thin white cotton is cut 5 1/2 inches by 5 1/2 inches.
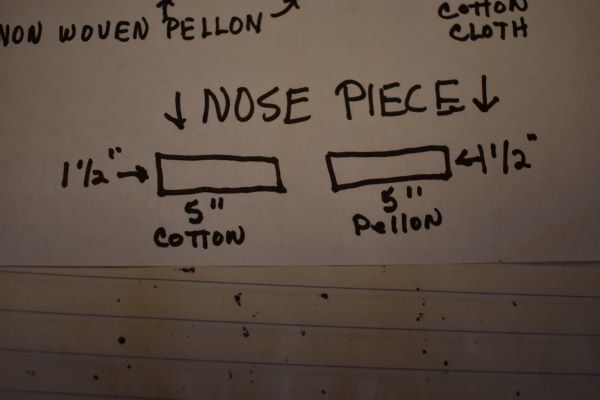
And I almost forgot. We need one piece of cotton fabric 5 inches by 1 and 1/2 inches and a piece of pellon or cotton either one same size, 5 inches by 1 and 1/2 inches.
Everything will be explained below in pictures.
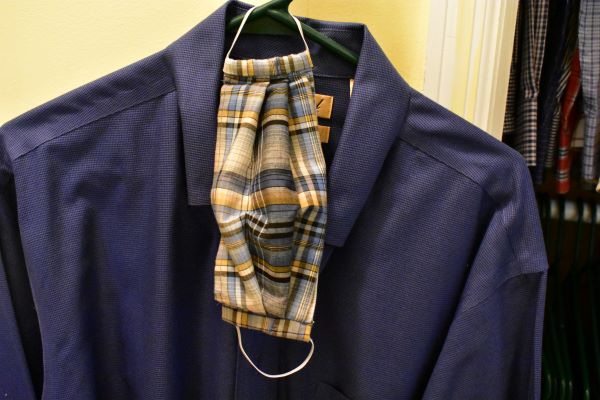
So we just embraced a bad situation and went on with it. I coordinated Charles dress shirts and Charles feels happy and this makes people happy. We need a little more happiness and Charles being Charles with a nice mask makes for a good day.
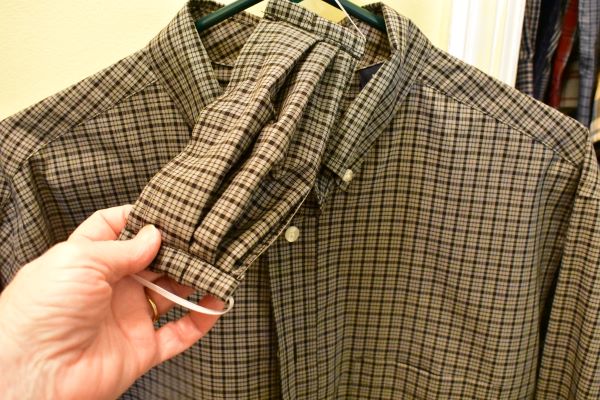
He even has two shirts with matching fabric. :)
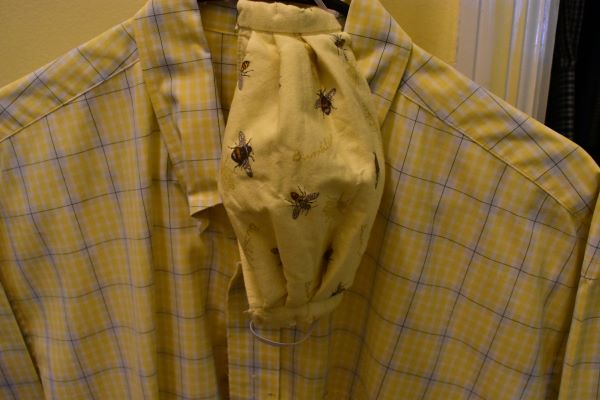
Yes, even a bumble bee mask. Charles said, why not?
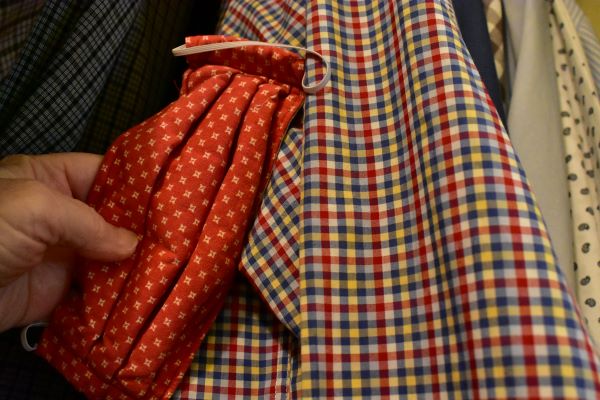
I just kept sewing...
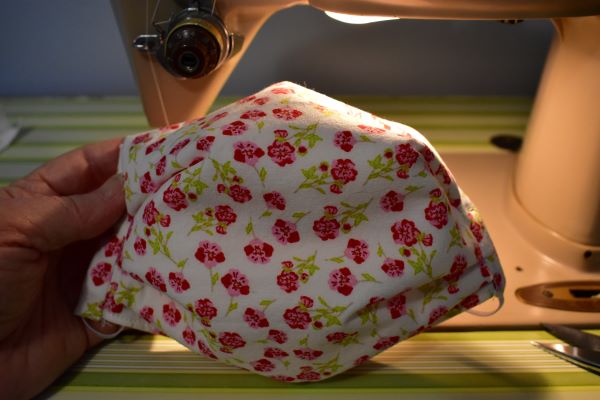
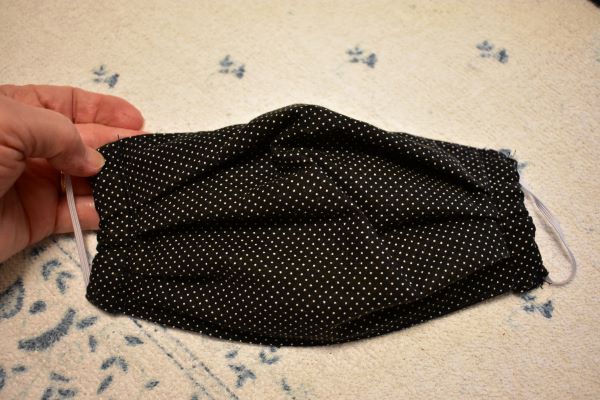
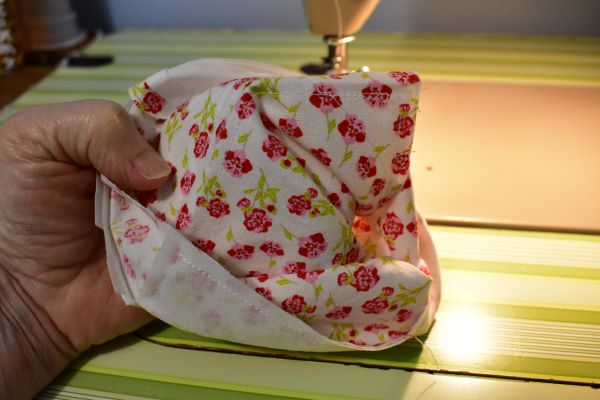
This is the mask I sewed for you today to show what I do. This is the front pushed out.

These are well made and can be washed and dried in a washer and dryer but I like to soak them in very hot soapy water then wash them by hand and then dry them.
This is the inside and notice the nose piece. We like the white cotton fabric inside each mask. It helps to not mix up the front and back and the way the mask is made it absorbs moisture from breathing in and out and wicks instead of pooling.
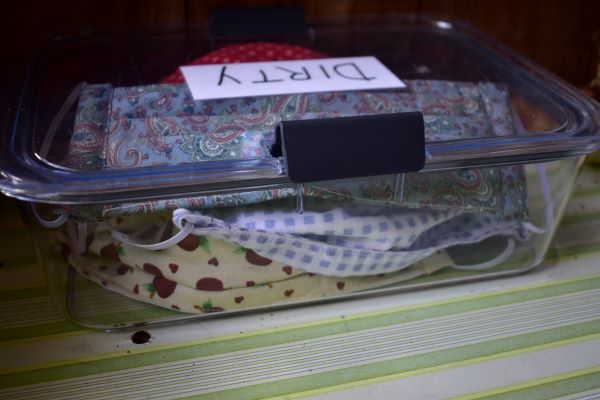
We put the dirty masks in a container until I wash them. We have a box we keep the clean ones in. Yes, there is a mask with apples.
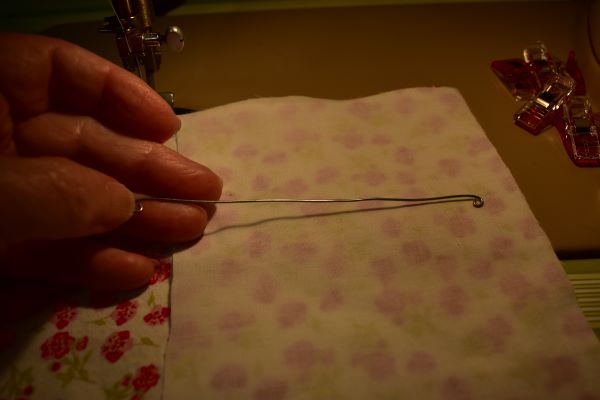 I was making nose pieces using wire and I layered cloth and pellon strip over it then sewed back and forth quilting around the wire. Then I found that amazon started selling nose pieces.
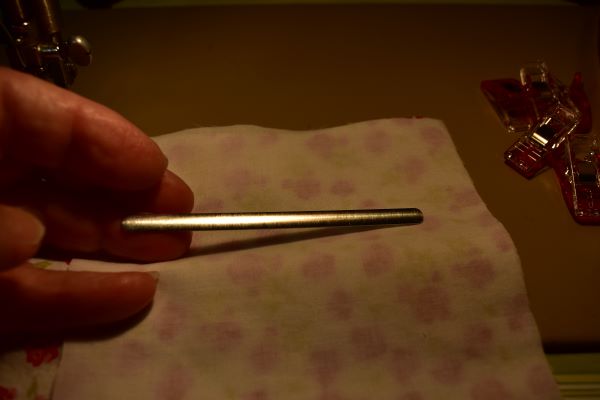
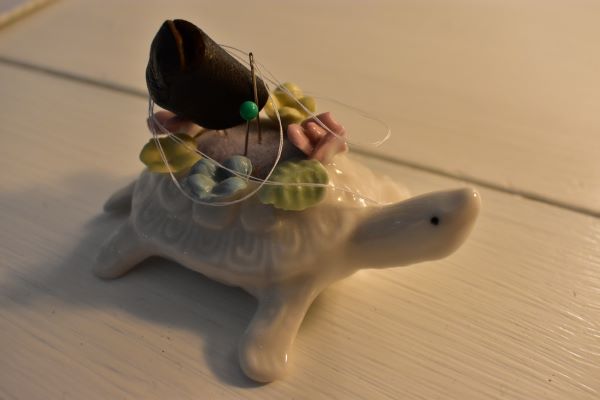
This is the nose piece I use now but I still make a quilted nose piece to make it secure and soft.
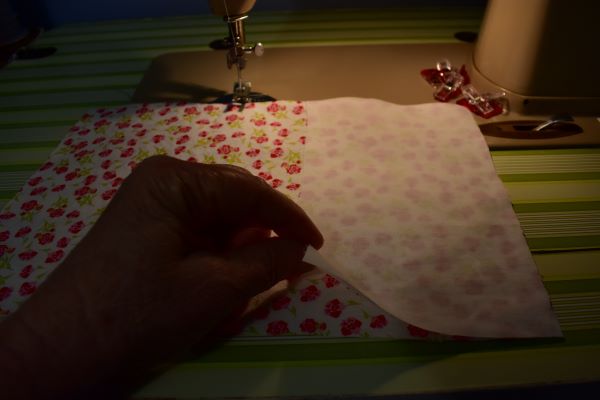
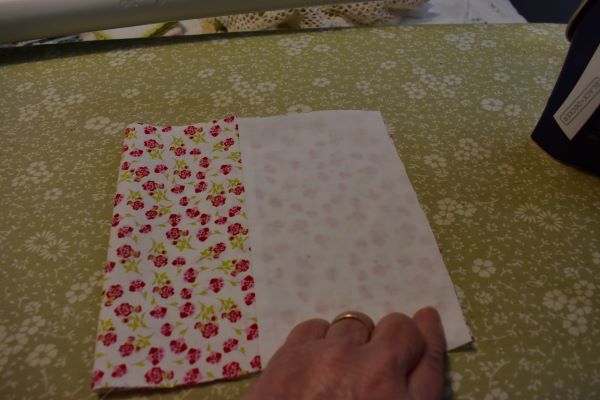
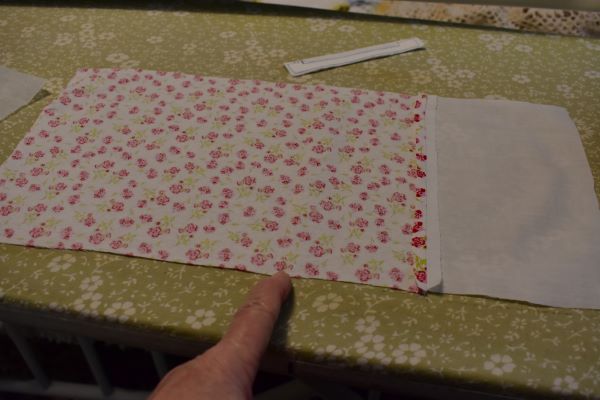
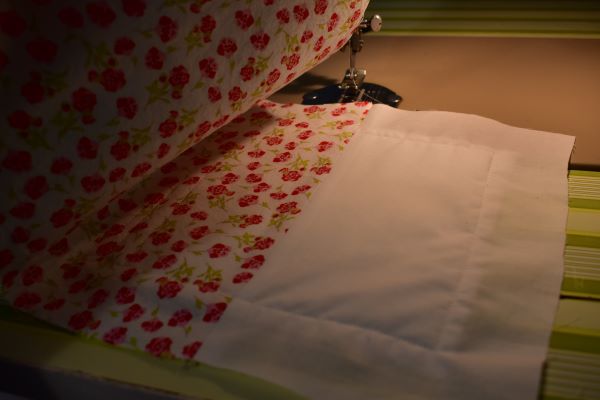
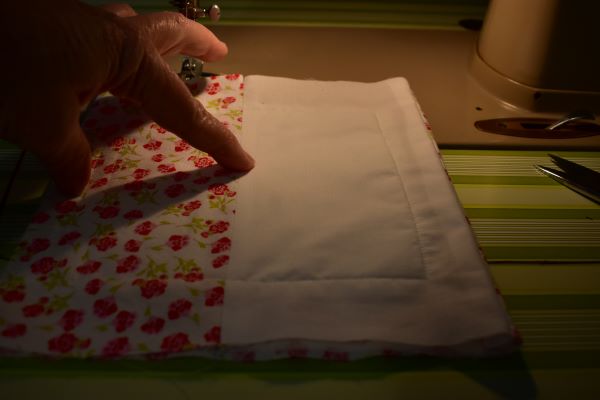
First thing I do after all my pieces are cut out is I put the piece of white cotton fabric, that goes with the mask fabric, on top of the right side of the cloth. I will sew across to join this white cloth to the flowered cloth.
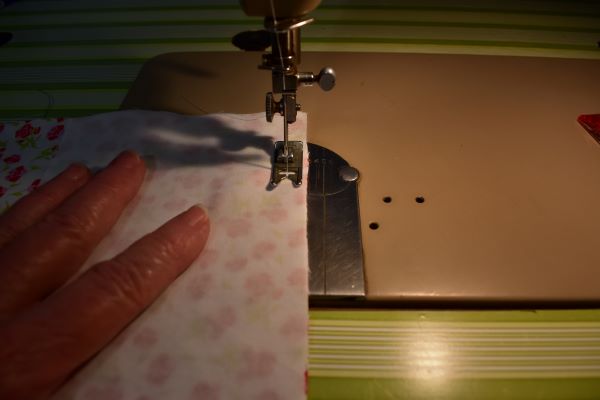 I sew across...
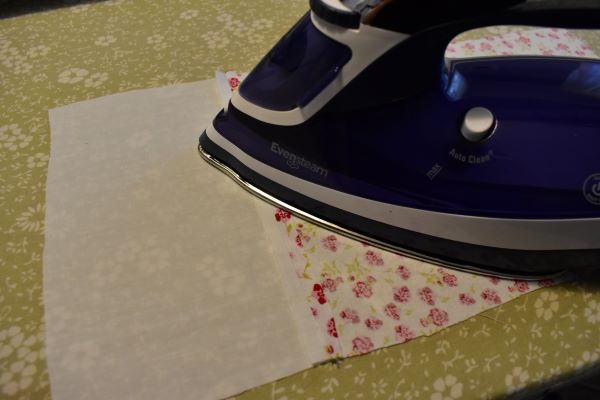
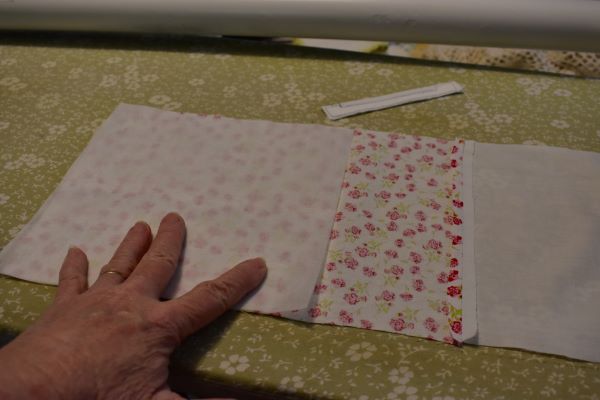
Then I press the seam open.
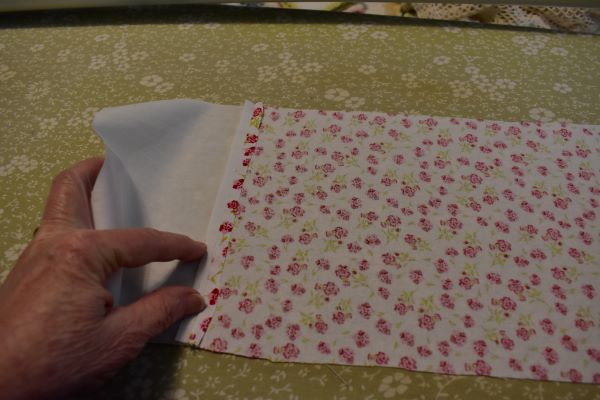
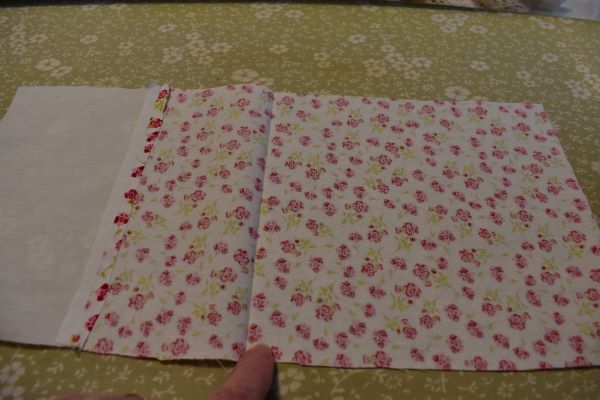
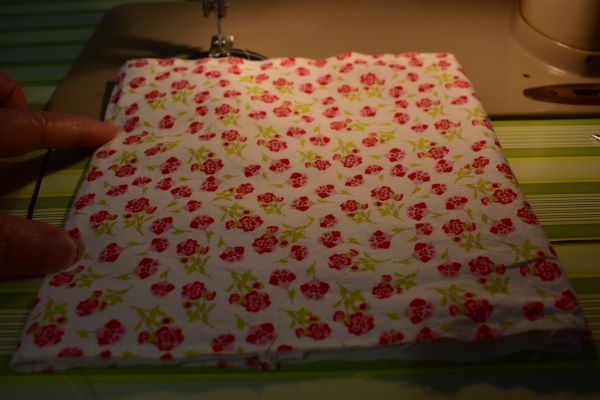
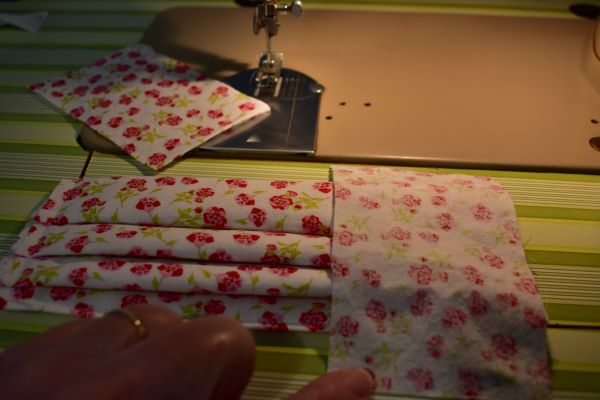
Now this is the full length of the mask piece with the two pieces sewn together.
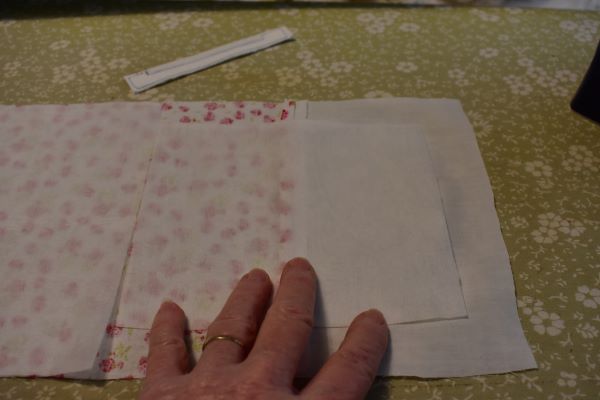
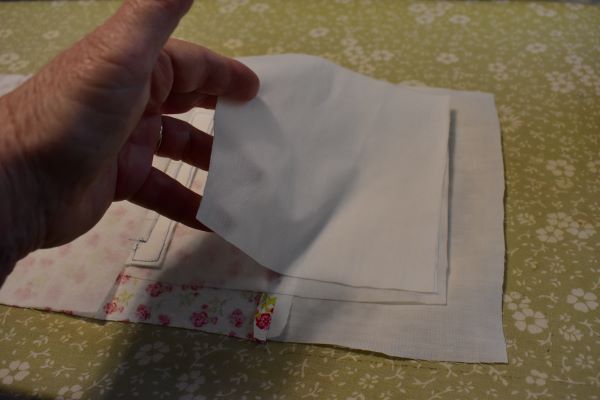
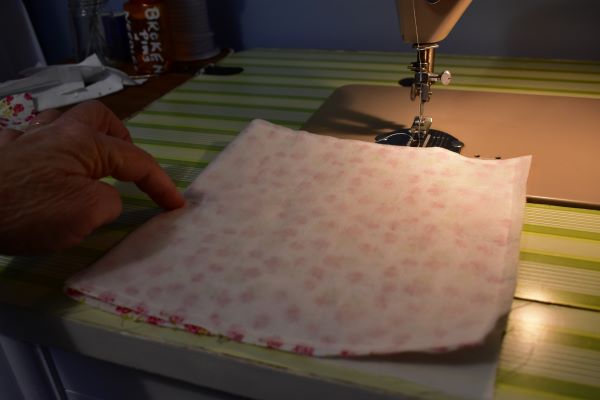
Now pull the white end over the flowered part until it matches at the right side...You are looking at the inside or called wrong side of the flowered fabric.
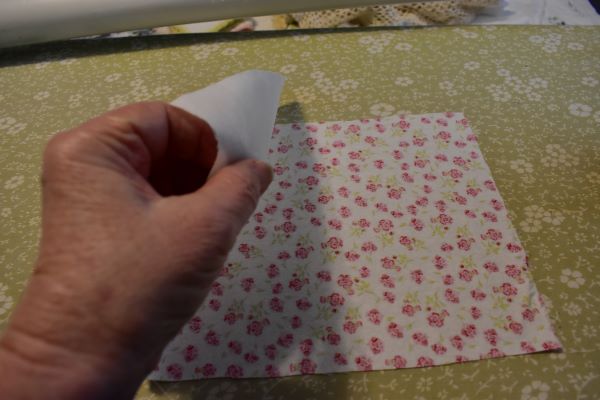
Like this... now it is folded inside to inside, or wrong side to wrong side.

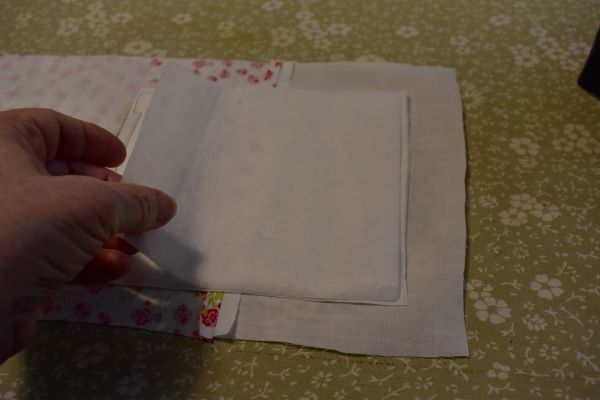
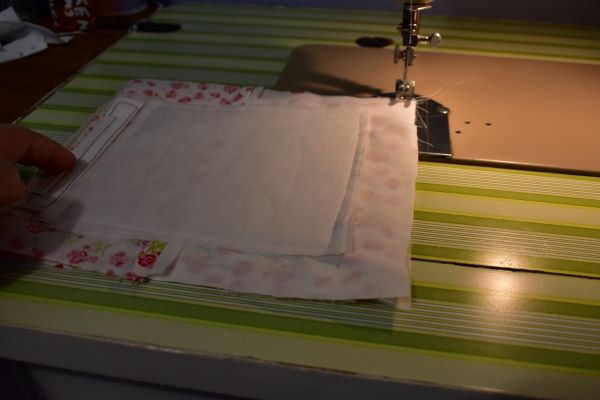
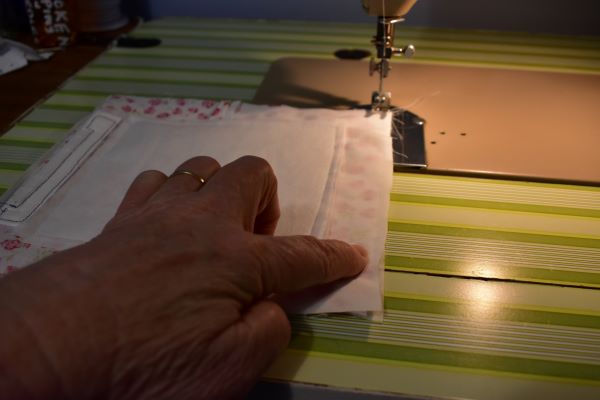
I am pressing the square. I am concentrating on pressing the left side to mark the fold. you will see below.
Now you can see where the center is. This is needed to add the nose piece.
Now I am stopping here to make the nose piece. I normally make up several ahead but I need to show you how..
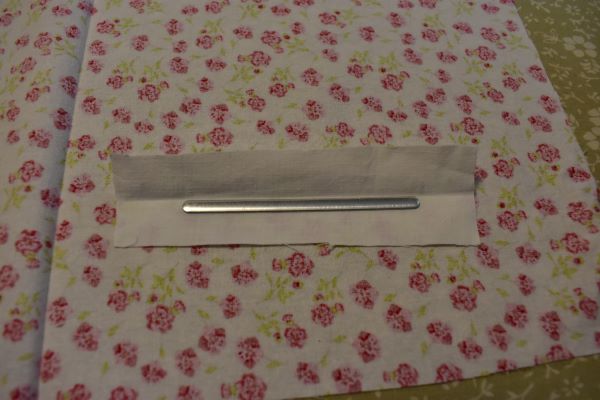
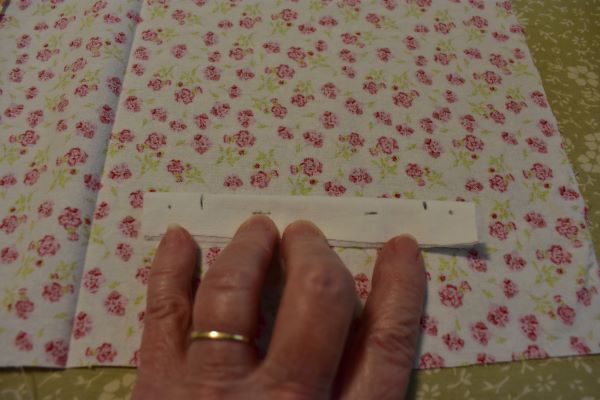
I cut a strip of cotton fabric and a strip of pellon 5 inches by 1 1/2 inches. Fold and press the cloth in half long way. Put the metal nose piece inside that fold. There is a piece of tape to remove on the back side of this nose piece that will help it to stick to the cloth.
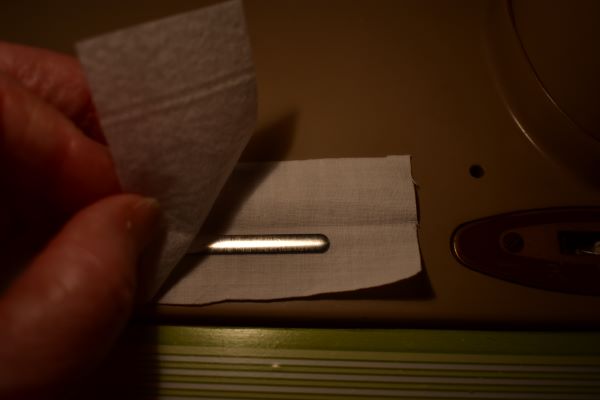
Now lay the pellon on top of that. We are basically quilting this together to make the nose piece sturdy and comfortable.

Now I fold this over.
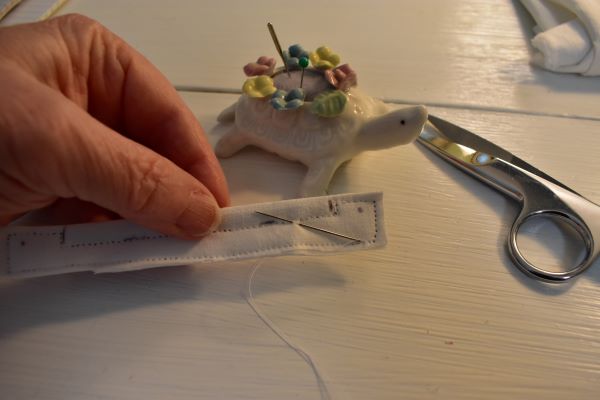
Now I mark where the metal piece is and sew around it..

I sew sides and bottom around the metal piece, then around the outside edges.

I trim it a bit sometimes but it does not matter because it is inside the fabric.
Now I stitch 4 stiches across the metal stay.
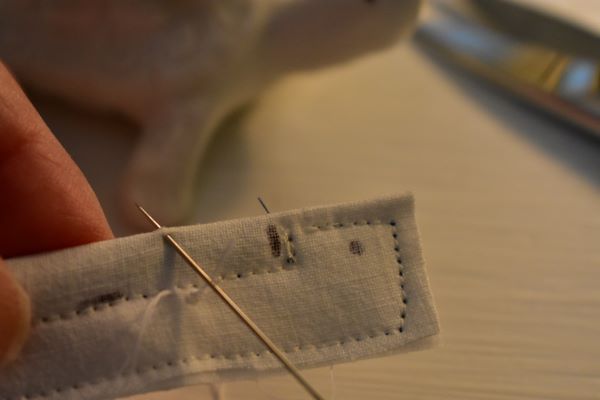
It is worth the small effort to do this because this helps to make these masks last a long time. I counted how long it takes to make the 4 separate stitches because I knot each one off to save thread. It is an average of 20 to thirty Mississippi's each. So about two minutes for all 4 stitches.
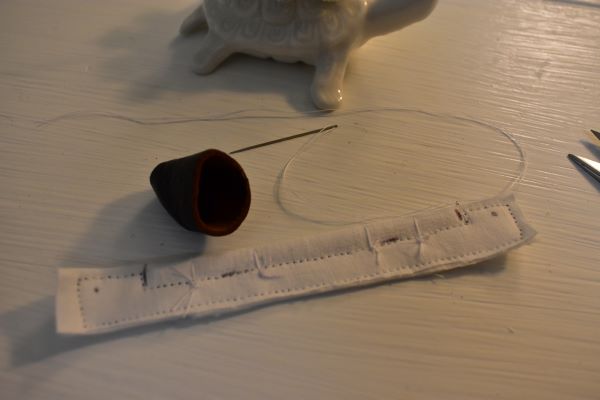
Completed nose piece and the 4 stitches over the metal piece.
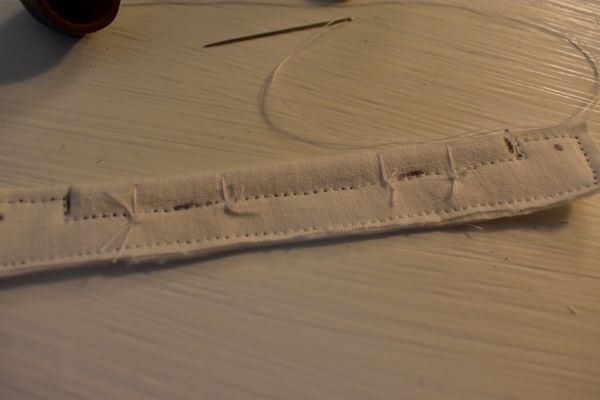
Closer look.
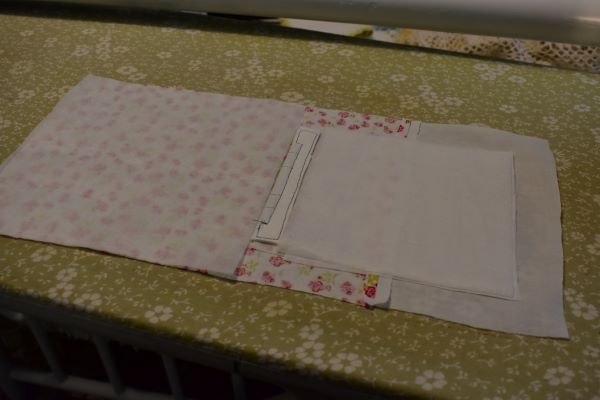
Now I lay my fabric out wrong side up with the white attached cotton to the right. This is just how I work on all my masks so it goes quicker.
Now we start building the inside filter. I place the largest square (8" x 7 1/2 ") of pellon on the left. The center was pressed down before this, so the pressing mark is there where the center is.
Now I lay the piece of pellon that is 6 1/2 x 5 1/2. butting it up to the center to meet the other. This puts a non woven piece to filter under the nose piece.

Now lay the nose piece try to center it and make sure the flat side of the nose piece is up. The way to tell is the knots that were made hand sewing those 4 stitches will be laying face down. in other words we do not see those knots now.
The reason for this is on these metal nose pieces there is a flat side and a slight curved side which makes the nose piece bend. When I was using wire I made sure my curled edges were curled down. I don't want this to be a distraction, we will continue on.
Now I lay that piece of white cotton cloth 5 1/2 by 5 1/2 on top of the pellon and just center it up.
Now the last square of pellon on top of the cotton fabric. So we have ended up with a bottom three layer filter pellon, cotton, pellon and the other side a full one layer pellon. You will see understand as we sew. It will go quick now. These masks do not take me long to make. It is cutting out all the parts that take the longest to do. I normally spend a day of cutting parts and stack each mask with all pieces and then sew several masks the next day.
So now the mask is ready to sew.. I will start and sew in the nose piece then go around the edges of all the layers of filter.
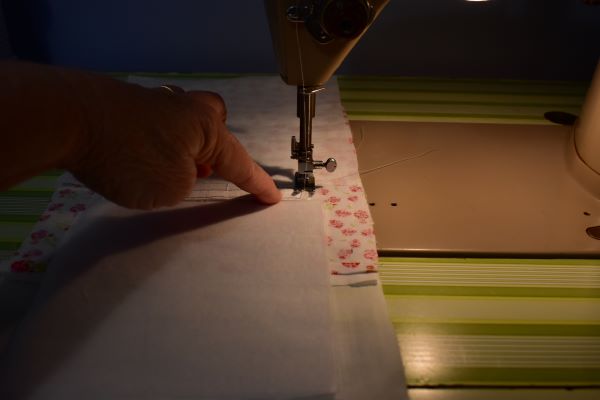
I start at the top edge of the nose piece.
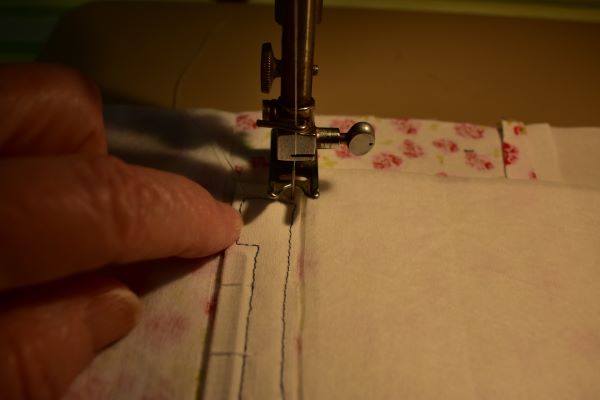
Turn and go across the bottom. when I made this nose piece I used a different color bobbin so I could show how to sew around this.

I went all the way around it to sew it in. this will not show on the outside of the mask because when it is all finished this will be inside the mask.
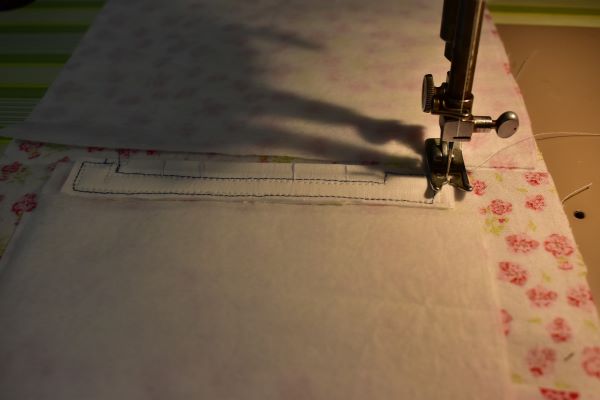
Now I have sewn in the nose piece and coming back down the side with the three layer filter. I am sewing all the way around this filter to attach it to the flowered cloth.

Just sew around. I wanted to point out here that the three layers of filtering material does not go all the way to the edge of the cloth. The reason for this is when the mask is pleated it will keep it from being bulky and fit the face better. The other side pellon filter is a full piece.
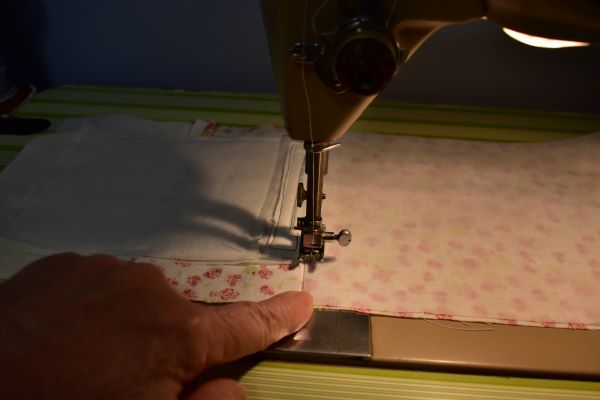
I finished sewing down the three layer filter so now I am on the other side sewing the full one layer filter.
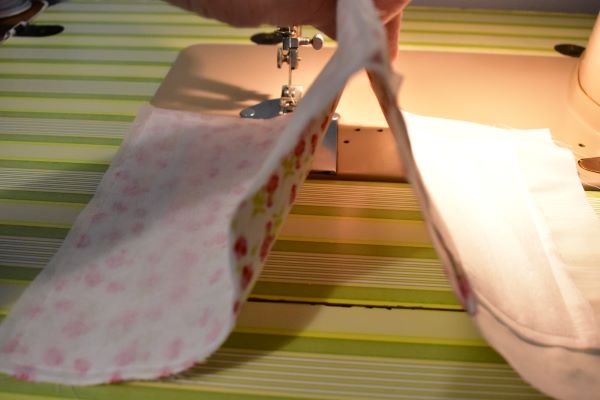
Filters have been sewn in so lift the piece up at the nose piece to fold the good side together.
We are folding it over. right sides together.
Nose piece is inside here. Now we need to sew the bottom of this on the right.
Make sure the nose piece is aligned up at the top and flip it over.
So here is the nose piece and the three layer filter is showing and we are sewing across the bottom opposite to the nose piece.
Sew all the way across and stop.
Now turn it inside out.
We do not sew the two sides closed. these will be enclosed later with the side pieces.
You can press this down making sure the nose piece is in the proper place.
Now you can see where the white cotton mouth piece will be before we fold it.
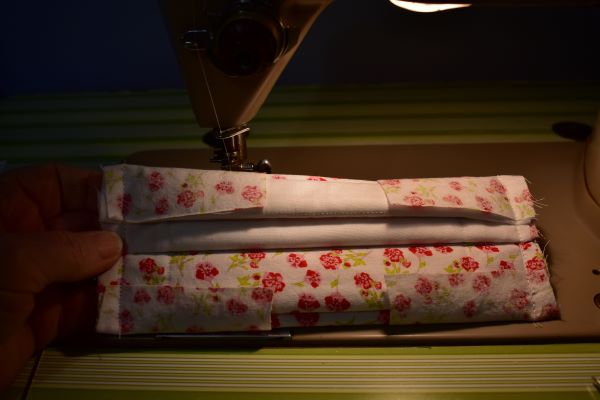
This part is like making a paper fan. We will make three folds. The top fold starts at 1 and 1/4 inch down, starting at the top nose piece.
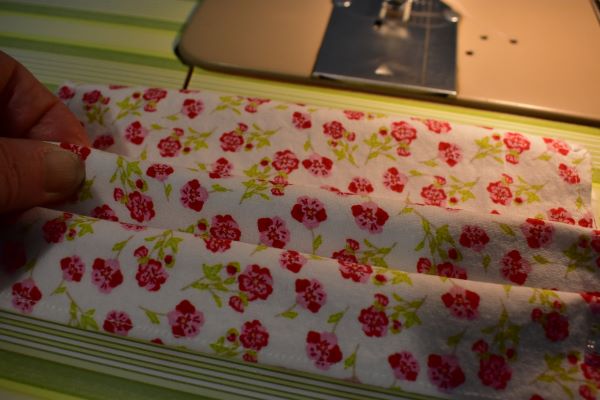
.We will be going like this like a waterfall.

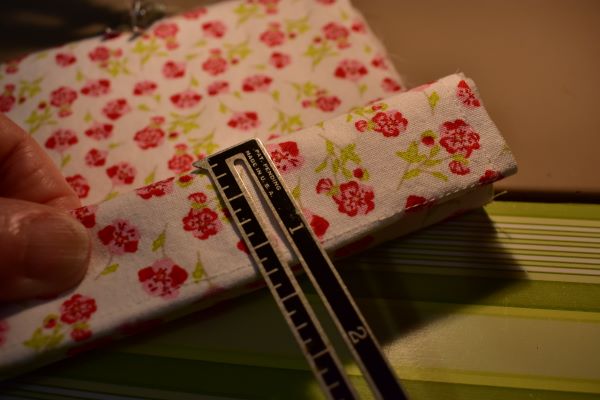
We fold and fiddle with it until each side is the same and ends up at 2 and 3/4 inches wide.
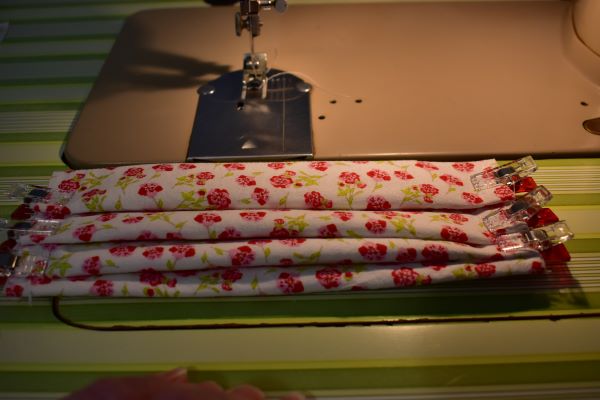
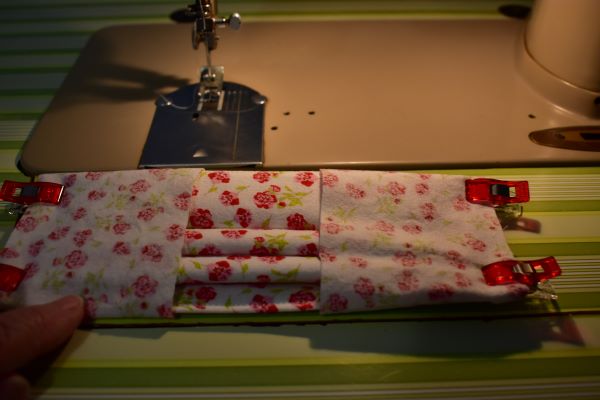
It is all folded and pinned or clipped and we are ready to sew the edges.
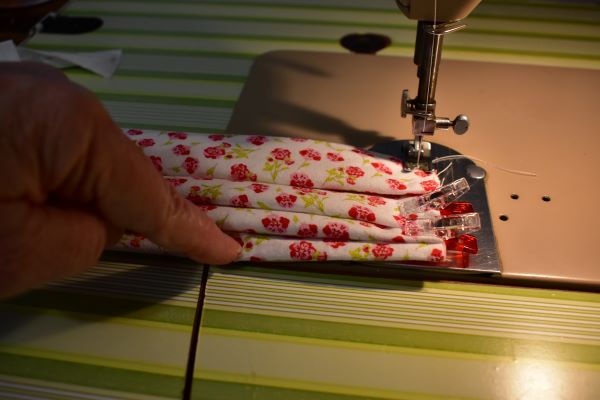
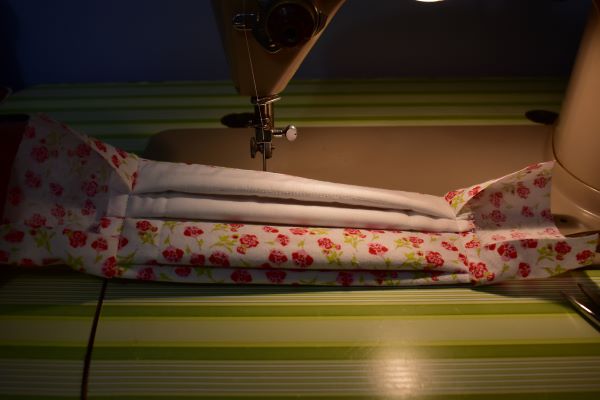
I sew down the edge and across the bottom and over to the other side.
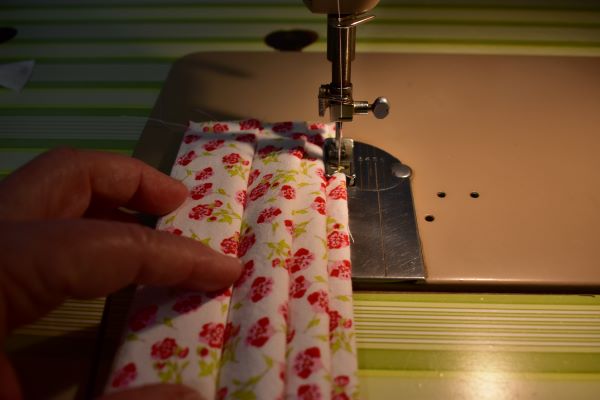
Sewing across the bottom... and back up the other side. I never sew on the nose piece end. Make sure while sewing around this to keep the sides the same size and measurement of the 2 and 3/4 inches.
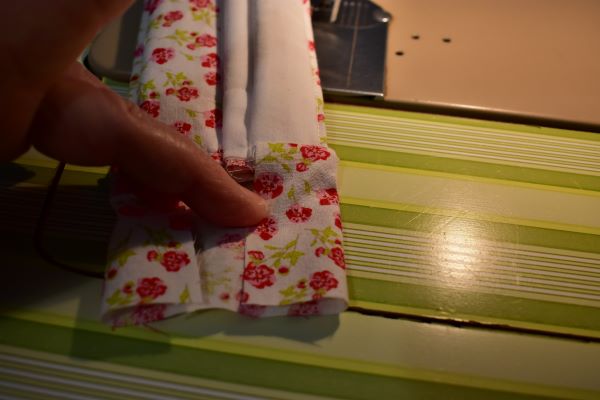
Now we lay the two side pieces across the mask right sides together.
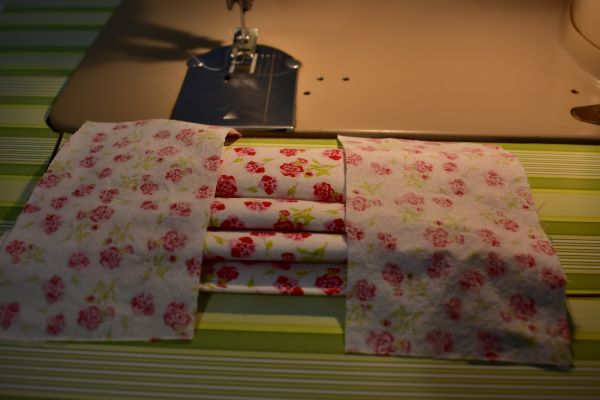
Like this..
Tuck them under and pin or clip. check the bottom to make sure they are tucked smooth.
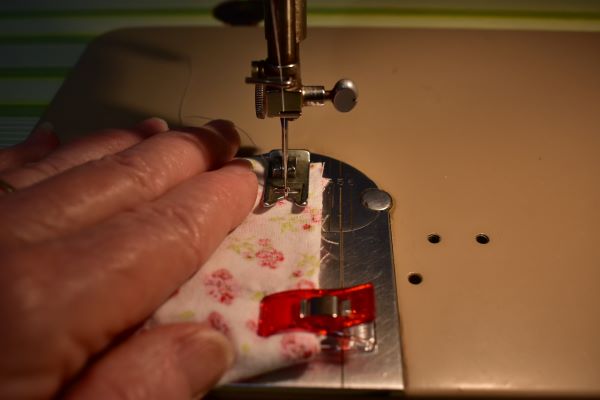
Sew straight across only back stitching at each side.
It will look like this.
Now pull back the sides...
Fold each end together slightly.
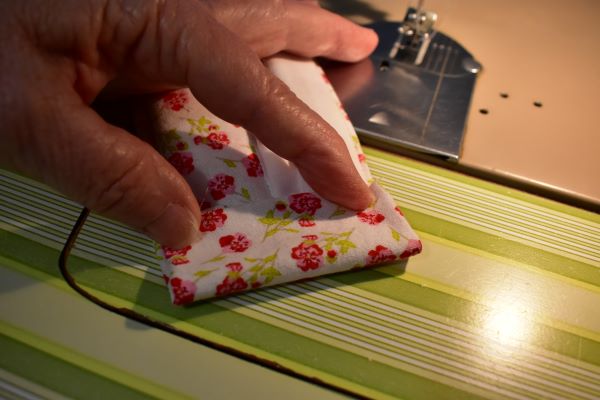
Fold down to the stitching...
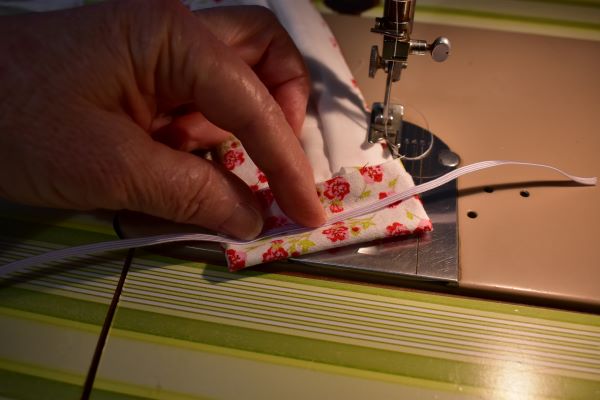
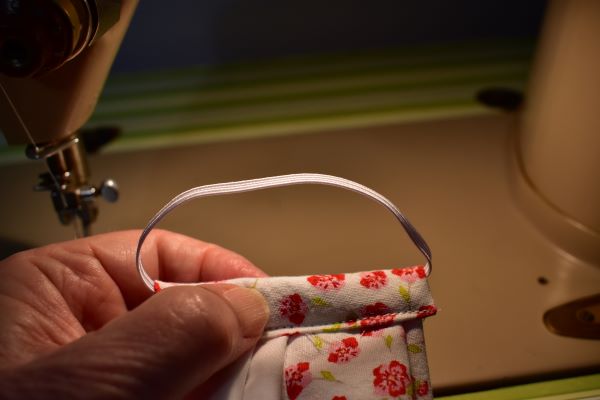
Put a piece of elastic across the center... and hold it in place..
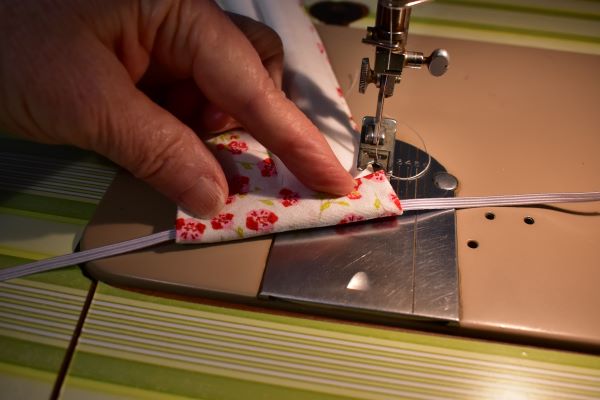
Fold the rest over the elastic..

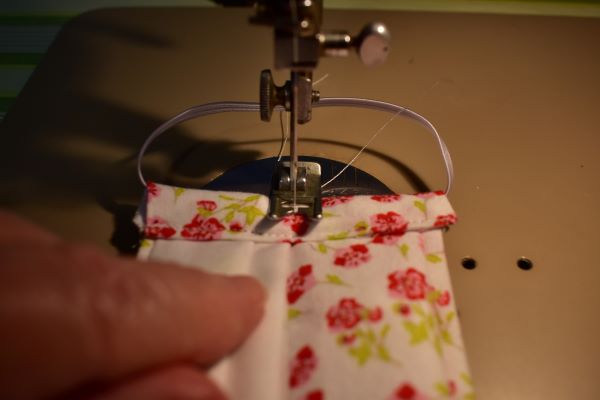
Sew across making sure to not sew the elastic. Also back stitch each end.
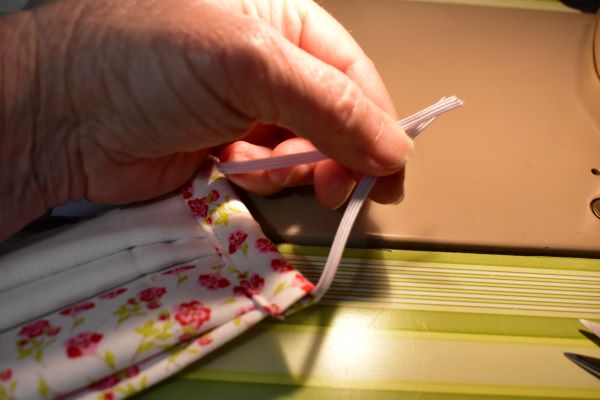
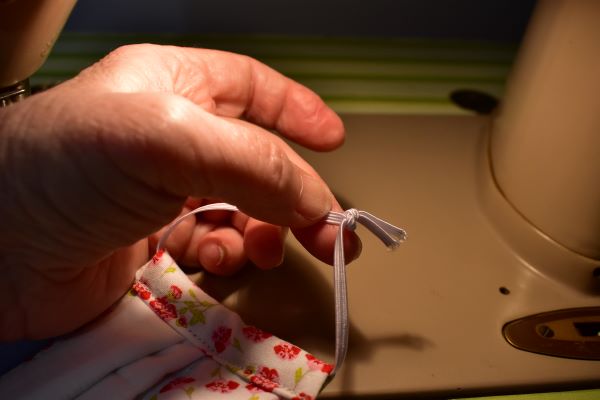
Now pull up the elastic to tie a knot in the end. You will need to tug and stretch it out to make the knot.
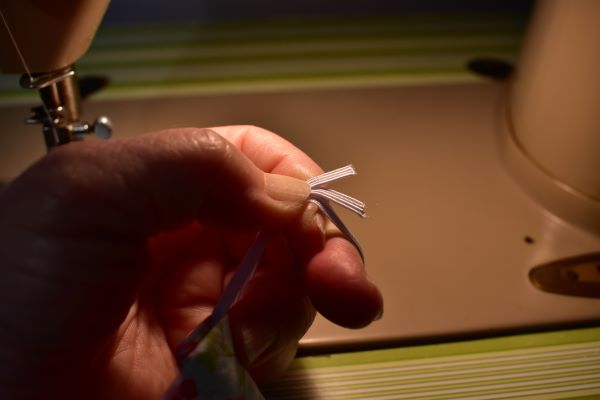
Around the fingers and tuck..
This is about the length for Charles and I both to have a comfortable ear elastic. If you do not have elastic this is where cloth ties can go through this fold.
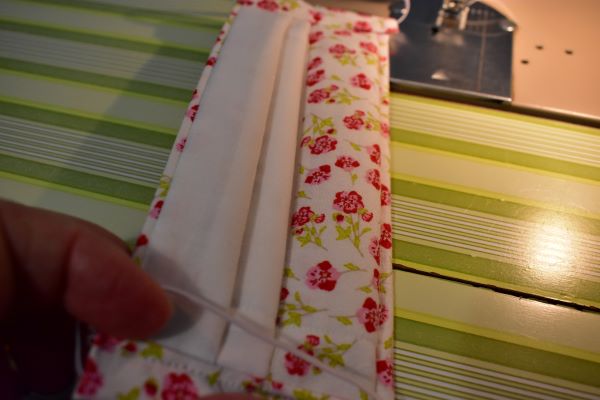
I pull the elastic around and tuck the knot inside the fold.
The knot is slightly left of the center here It needs to be close to the center to have a even pull on the ear part but leaving enough room to sew across the elastic, not the knot.

Now the mask is finished... top side..
Inside...

Open inside..

Outside...
It should last a long time, it does not take much fabric at all to make. I know this post was long but it really does not take long to make them once you have made the first one. Like I said, cutting them out and stacking them and having them ready to sew is what takes the longest. Charles wears these all day long and he says they are comfortable. I wear them when I go out.
Nose pieces on amazon just copy and past into amazon bar and should come up. Just make sure they are the ones from Ocean Tree, I noticed when I copied and pasted to make sure this is right several different types come up. I know these particular ones are good and not flimsy.
Nose Bridge Strips for Mask, Oceantree Aluminum Metal Flat Strips Straps Adjustable Nose Clips Wire for DIY Face Mask Making Accessories for Sewing Crafts ( 100PCS) By Ocean Tree
Hope this post helps in some way. Grandma Donna

