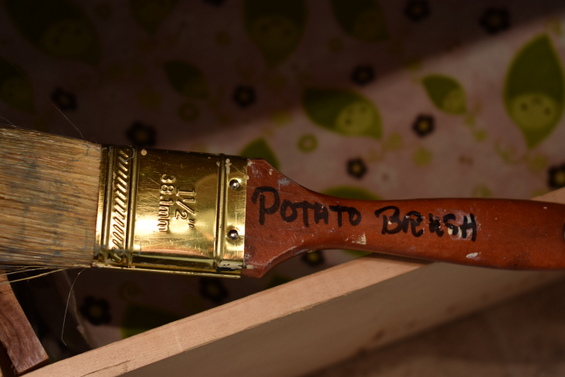
This post is about doing a little at a time.
I am not good at multitasking anymore. Actually I am not sure I ever did multitask, I may have rushed what I was doing but I don't even want to try that anymore since I came to my senses and started living more like the past.
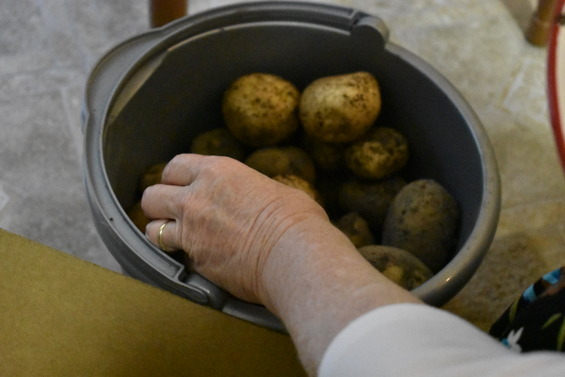
Charles and I garden but we do not grow large amounts of anything. We are not sustainable at our house but we do try to keep something fresh in the garden.
We have never had a bumper crop of potatoes but we do okay. We harvested our potatoes a couple of weeks ago and it was time to brush them and put them in storage.
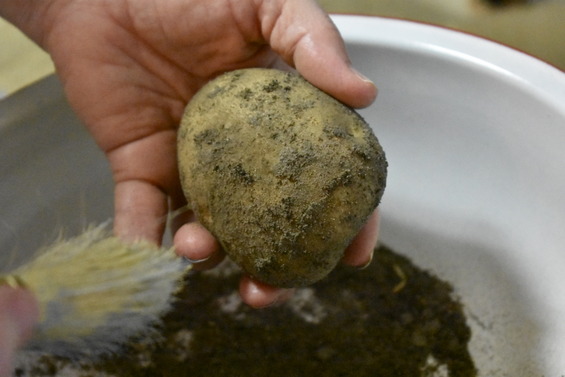
We set our potatoes out on our back porch for almost two weeks. It has been very humid lately and that is good for newly dug potatoes. After they have rested it is time to brush off the dirt.
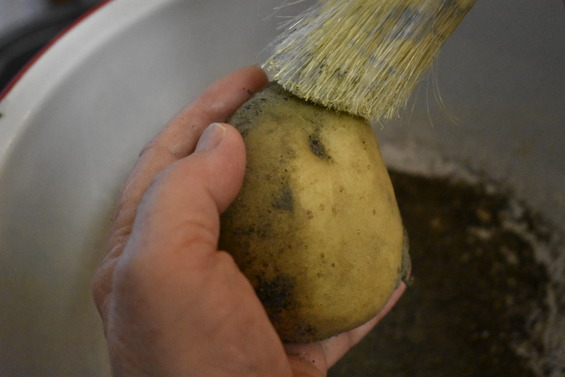
Just sit with a pan in your lap and use an old brush and brush off the dirt and gently use your finger to gently rub the dirt that does not want to brush off.
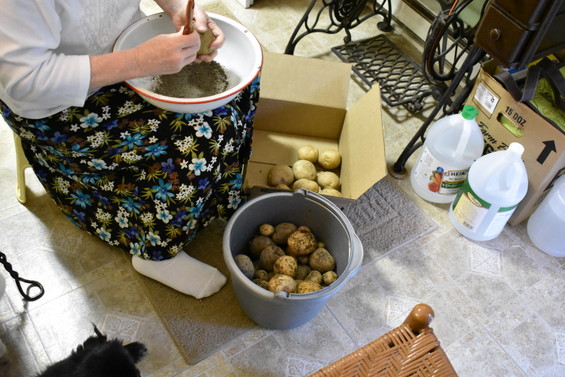
I use an enamel pan because sometimes a bug might be crawling around in the potatoes since it did come from the garden. The sides of an enamel pan are slippery for a bug and the bug cannot crawl out on you while you are brushing.
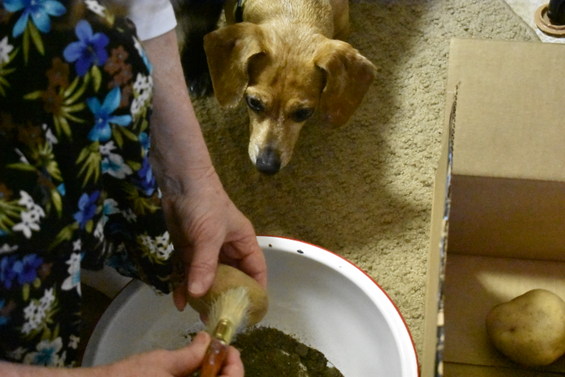
Katherine is intensely watching me brush the potato. We call her investigator Katherine.
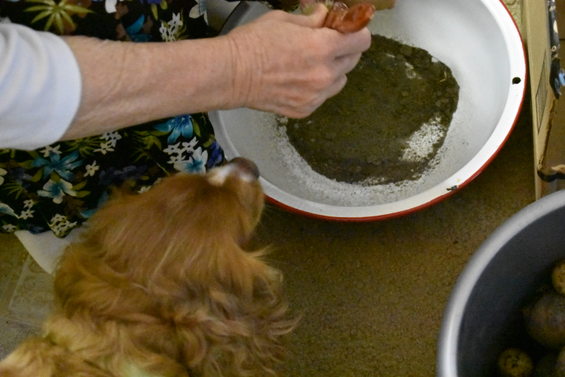
Elizabeth wants to make sure it is not something that she might miss out on.
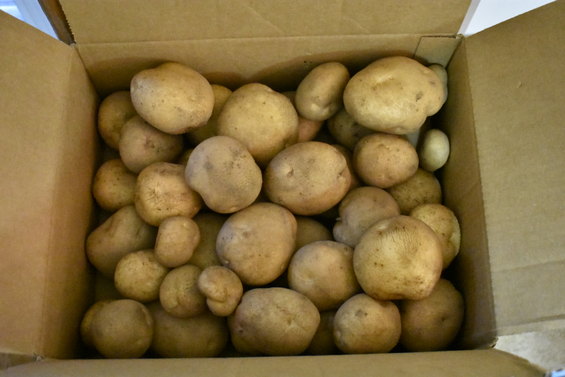
Bernadette was not interested so Katherine, Elizabeth and I finished brushing the potatoes.
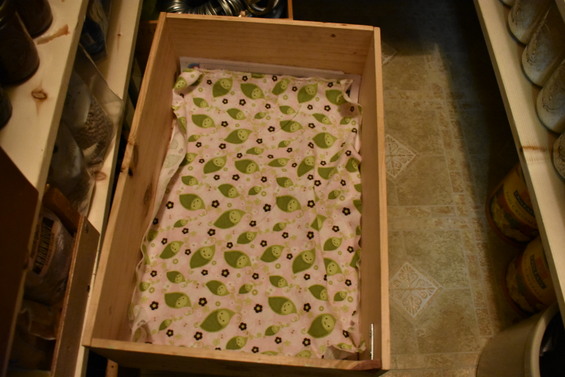
Next I prepare the box for the pantry. I put some newspaper down and some cotton flannel on top. I just like to use cloth around our vegetables. This way I can just wash the cloth for the next time.
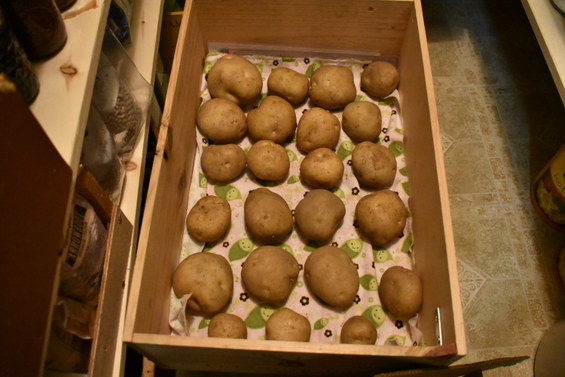
I put a layer of potatoes and then put a cloth on top of that and add another layer and so on. This is to just give them their space and so they are not touching each other. I don't have the space to lay them on a large rack but if I did, I would do that.
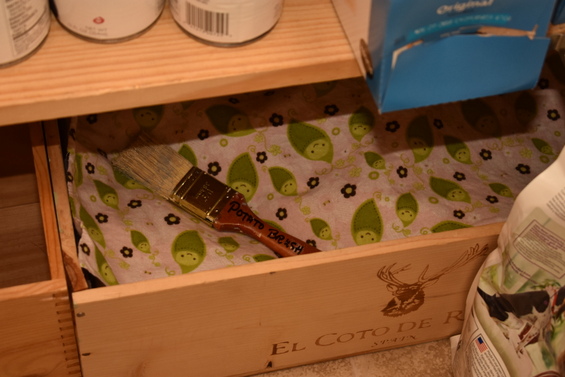
I put the box on the cool floor in the pantry and I keep the old paint brush/potato brush in the box so I will have it for the next time I brush potatoes. It is not a bumper crop of potatoes but more than none. Each year we seem to do a bit better. I will check the potatoes off and on.
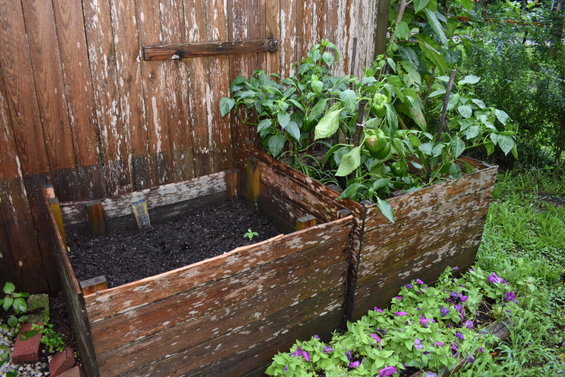
Two and a half weeks of rain and a tropical storm included makes the wood look a bit decayed but it is not. But this is our potato box we grew the potatoes in. A bell pepper box next to it full of large bell peppers that are getting ready for harvest.
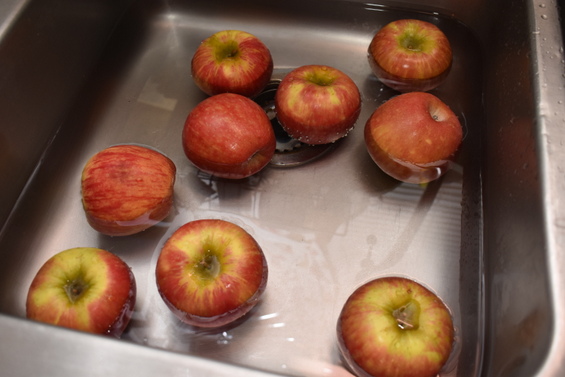
We don't grow apples here so we buy our apples. This post is about small batches and as we can afford a little extra at the grocery store or farmers market I home can food in small batches.
Today I took those nine apples and canned them.
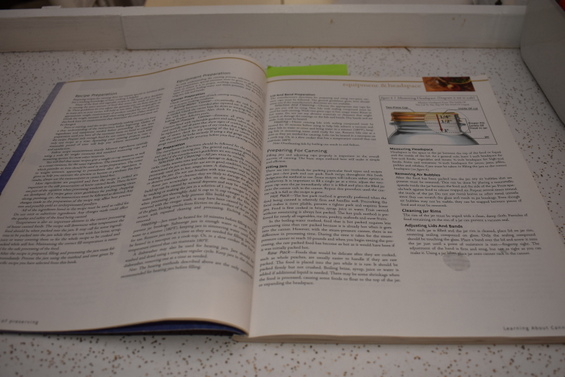
I always use my Ball canning book. I don't give out canning recipes because I have said before I go by the book or county extension service.
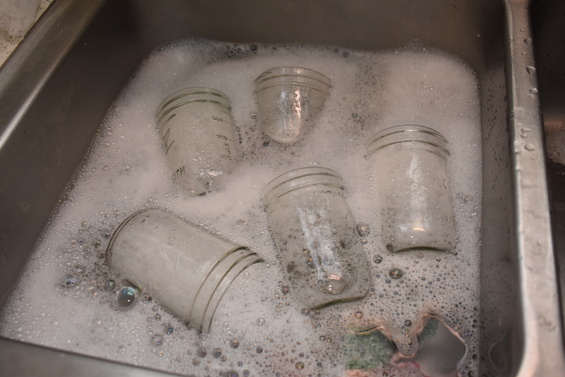
The first thing I do is wash my jars really good in hot soapy water and rinse them well.
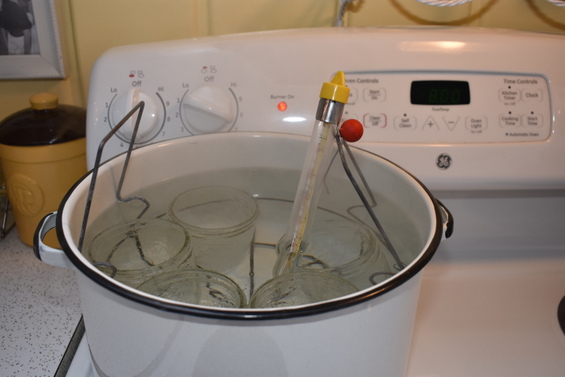
I sterilize my jars and keep them hot.
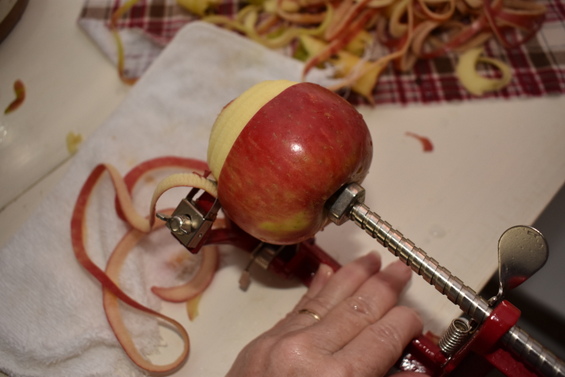
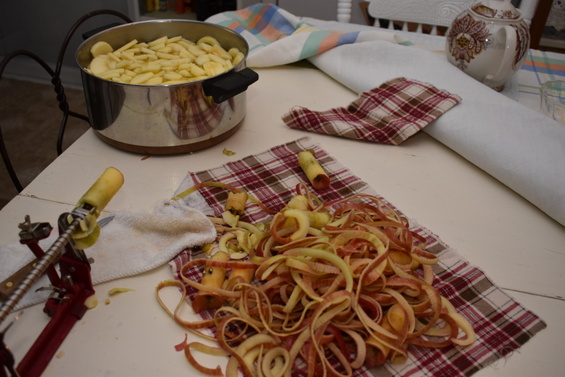
I peel the apples and put them straight into cold water and as soon as I am finished peeling and cutting them up I drain the water and put them in the pot with filtered water for cooking.
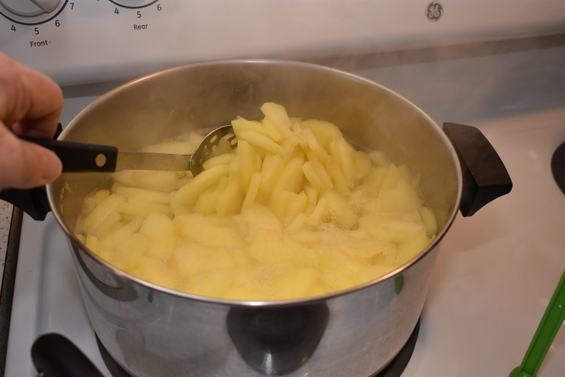
I do not add lemon or sugar to my apples. The canning book says I can use plain water so that is how I do mine. Most people use what is called a simple syrup but i don't want the sugar in our apples.
During this time I have a large water bath canner on the stove heating water and my sterilized jars have been removed from the stove are remaining in the hot water.
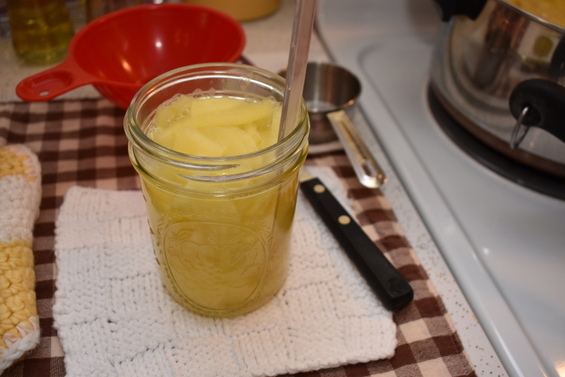
After I have cooked the apples for a solid 5 mintues I spoon the hot apples into the hot jar and then I run the bubble thing down the side and around the jar to remove any bubbles.
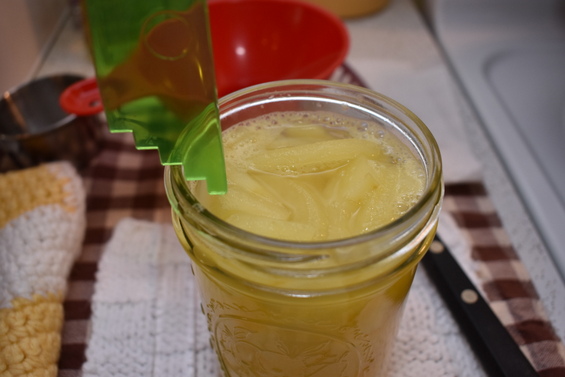
I use the juice from the cooked apples and make sure I have the correct head space which is the level of liquid in the jar. There is a different head space for different foods that we can. I am water bath canning these apples with 1/2 inch head space. If this was meat or vegetables I would be pressure canning which is completely different as those are never water bath canned.
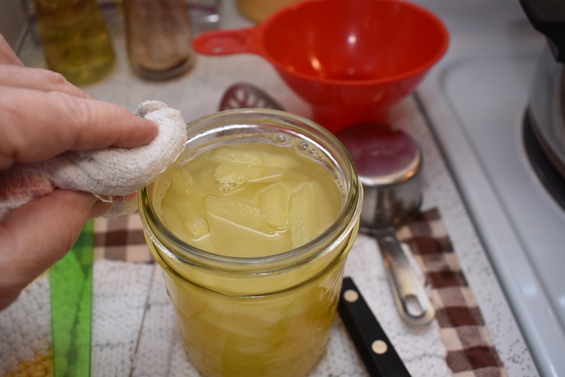
I always wipe the rim well with a clean rag dipped in vinegar water before placing the ring band on the jar.
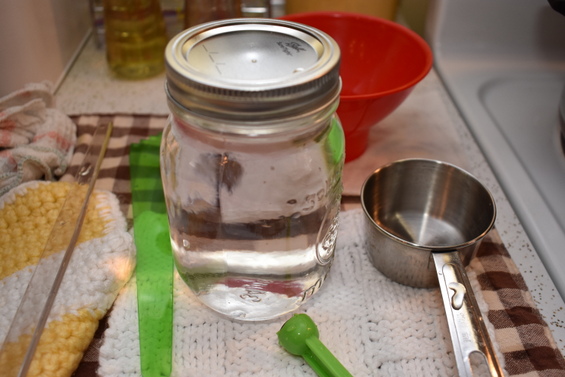
I ended up with 5 pints of apples and this means that the jars would be loose in the canner because the canner will hold 7 jars so I canned water so the water jars would hold the other jars upright.
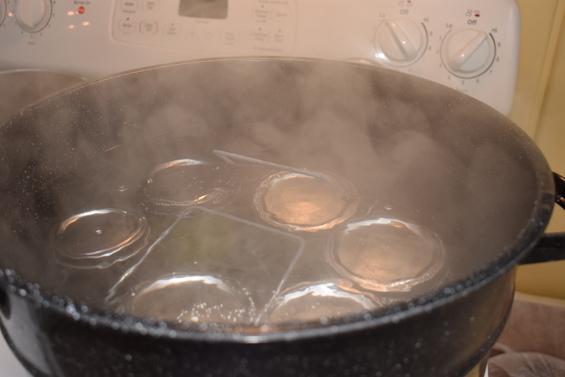
Now I need to bring up the water level to cover the tops of the jars with 2 inches of water over the top of the lids.
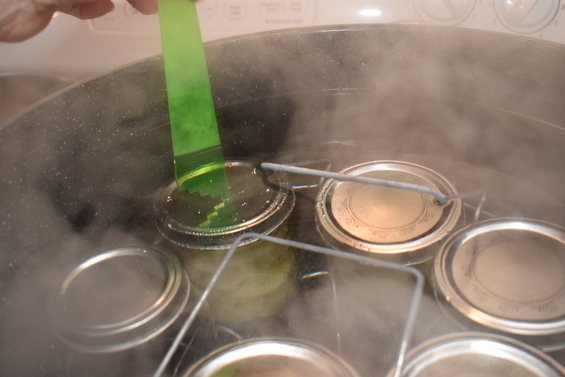
I have a mark I made, a small scratch on my head space stick so I will know that I have enough water over the jars. My mark is 2 and 1/2 inches, I add that extra half inch because steam will make it lose some water even with the lid on.
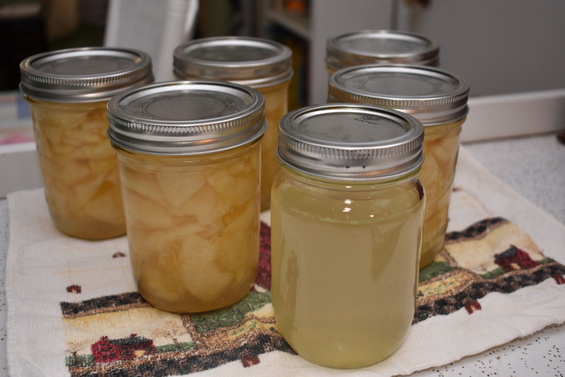
I canned 5 pints with 9 nice size apples and one pint of apple juice. The head space is not all the way up with the juice because we are going to drink it instead of putting it in the pantry.
I like to can plain apples because I cannot find plain canned apples in the store. I can put these over oatmeal with a bit of maple syrup and cinnamon. I can use them to make a pie or a tart or anything really.
Just make sure you use apples that have a good flavor.
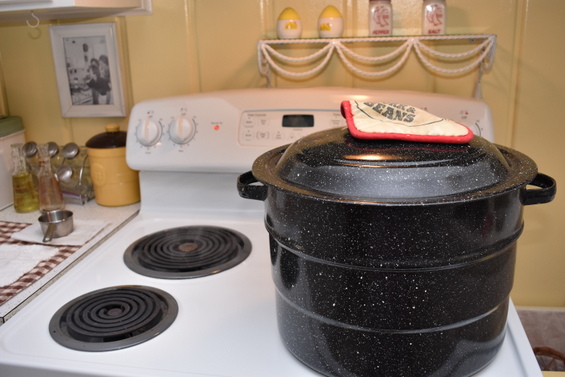
When we home can our food we can control the sugar or the salt or the extras. Just check with the Ball canning book or a trusted canning book or like I said your extension office or state or county extension services for trusted information.
Small batch canning, small batch dehydrating or small batch freezing will make a difference in your pantry one batch at a time. I will be freezing the bell peppers instead of canning or dehydrating. I already have some dehydrated so I will do a small batch freezing. Bell peppers are very easy to slice up and freeze.
Grandma Donna


