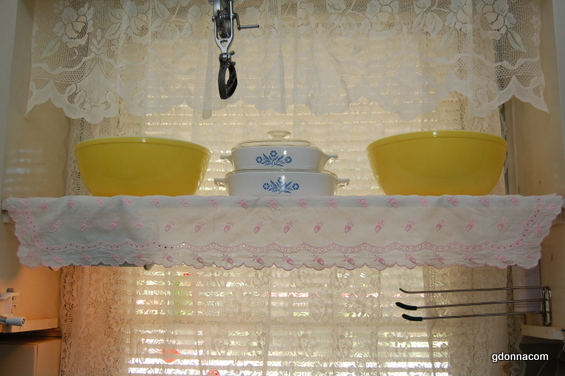
I tend to make things complicated when it comes to sewing and is why I do not post much on sewing but I do sew.
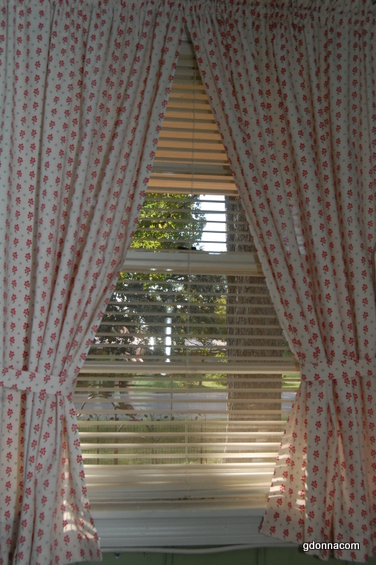
I made these curtains yesterday for our laundry area. I do not like store bought curtains because the selection is just plain. I found some fabric that I liked and purchased at the store.
I purchased three yards of 42 inch wide fabric. I washed and dried the fabric and pressed it before cutting or sewing the curtains. I wash all my fabric when I get it home from the store because it needs to shrink before you make anything. I cut it pretty close with the amount of fabric that I purchased because I have sewn curtains before but you might want to get a little extra if you are not sure.

I wanted a simple cotton curtain with a shirred ruffle at the top. So this is what I do.
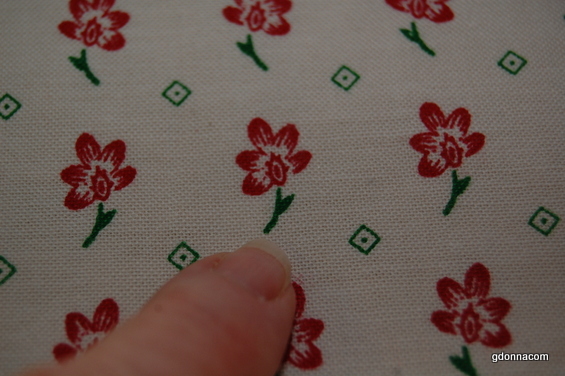
First off this is the pattern, It has a flower with a stem. This fabric reminds me of feed sack material. I have several pieces of feed sack material but I save them for very special projects.
I had to cut this fabric keeping in mind both pieces need to have the flower at the top and the stem at the bottom not upside down.
The other thing to keep in mind is to to line up the top cut so the rows of flowers and triangles match on both sides, the left side curtain and the right side curtain.
I used the triangles as my guide to cut across.
Now that I am reading what I just wrote I would suggest getting an extra 1/4 yard or so you can cut off some if needed to get your row or pattern straight.
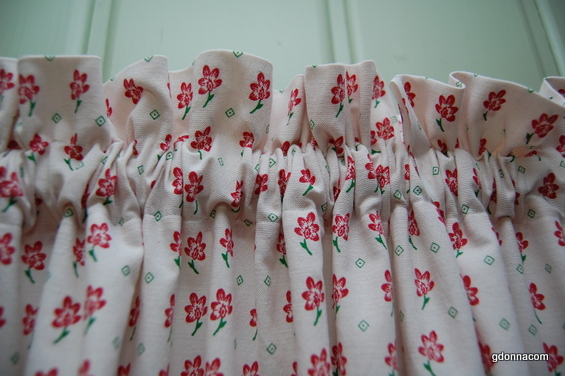
This is how I wanted the top to look like with a gathered ruffle at the top. This is showing two pieces pulled together and if you notice the flowers are lined up all the way across except the camera angle makes it look like it is higher on the right side which it is not.
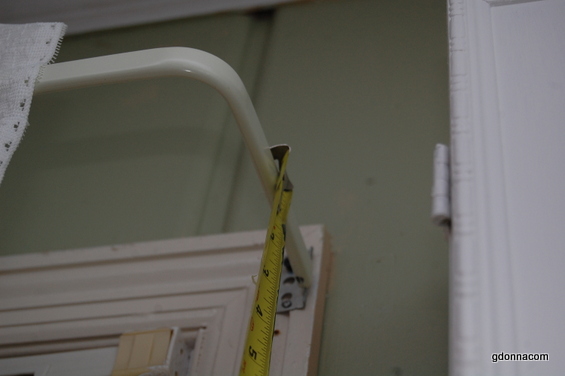
Measure the length of the window from the curtain rod down to where you want the hem to go at the bottom.
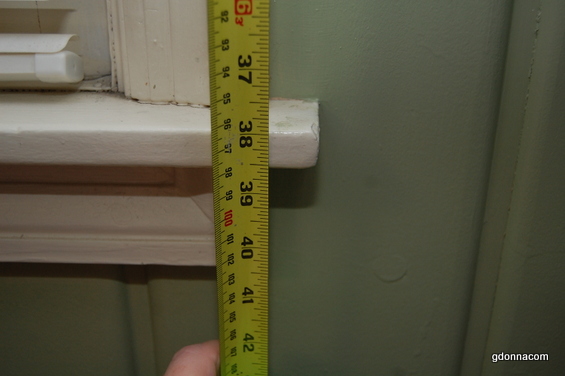
I wanted to hang mine to where the bottom is below the ledge so I cut my fabric 50 inches long so I could have enough fabric to turn a top and bottom hem with a rod pocket and a ruffle at the top.
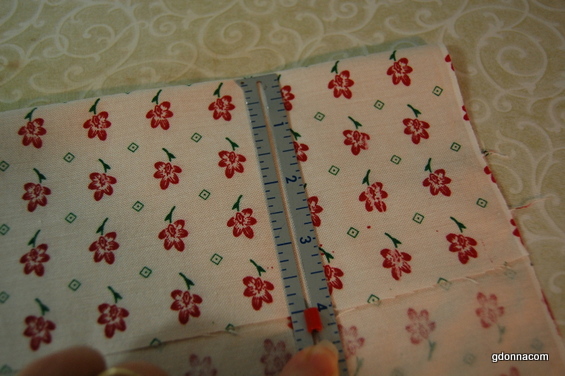
So I started at the top and measured 4 inches down and folded and pressed it.
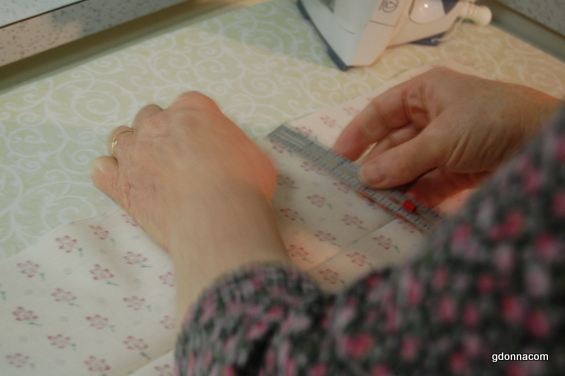
Then I opened it again and check my measurement is 4 inches.
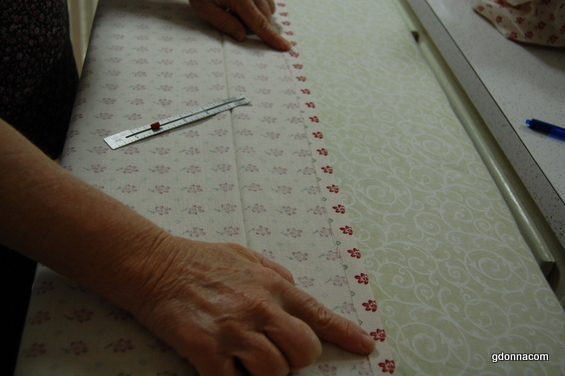
Then I made a fold a the top this is a 1/2 inch fold.
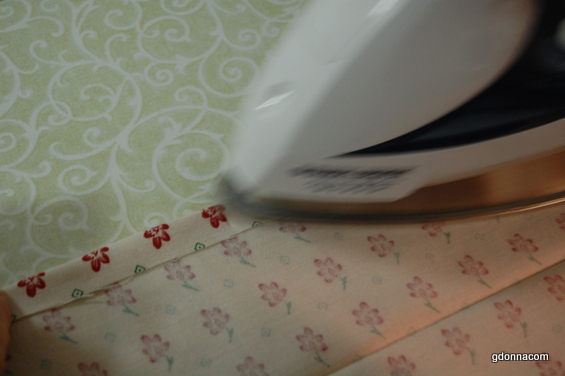
Press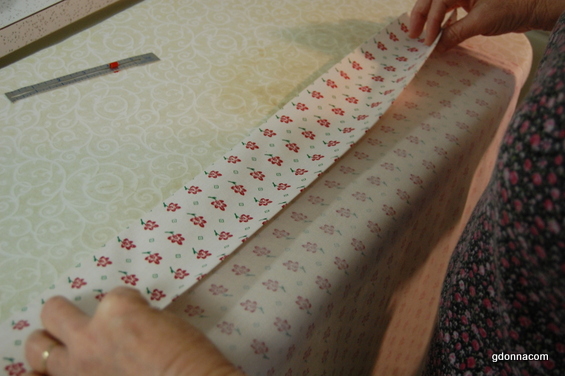
Now fold this down and pictured above I am bringing it down to my folded 4 inch mark.
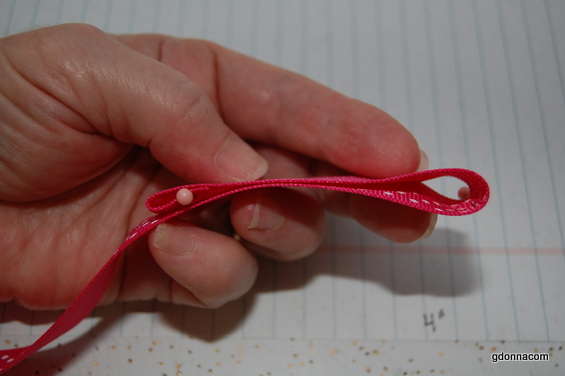
I folded a piece of ribbon to show you this top fold before sewing.
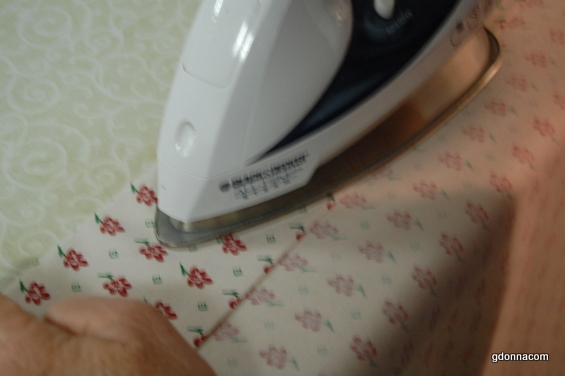
Sorry for the blurry picture now press again.
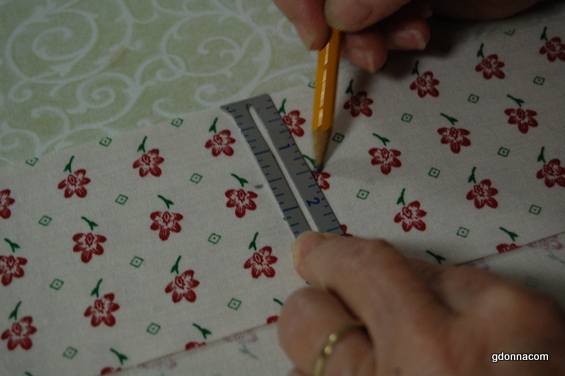
This is now a three and half inch fold because we used 1/2 inch to tuck under. Now I am taking a pencil and marking 1 and 1/2 inch marks across the top about every 6 inches or so.
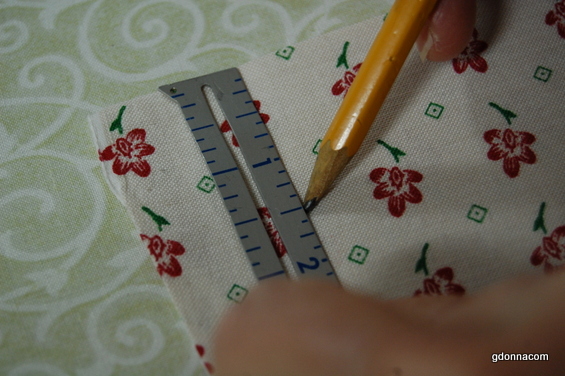
Like this.
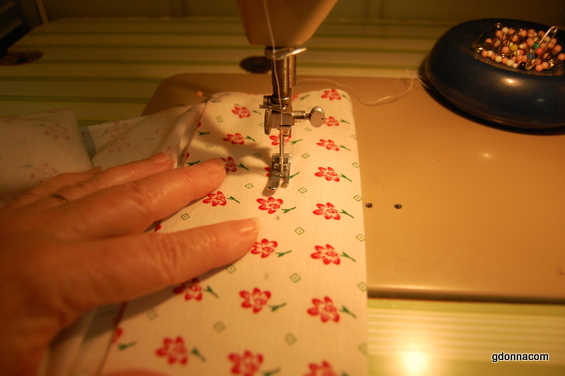
At the sewing machine I am sewing across and following the pencil marks.
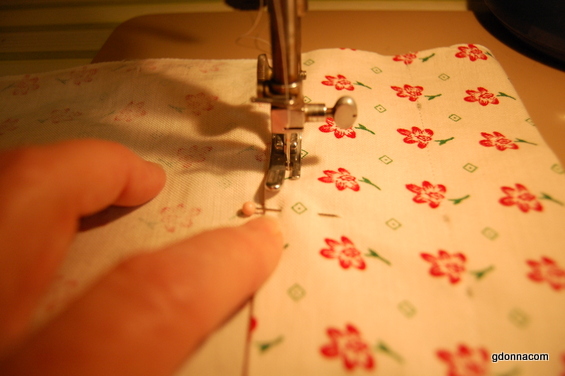
Then sewing the bottom edge of the top curtain rod piece. I have the wrong presser foot but it still works. If you look close you can see where I sewed across the pencil marks too.
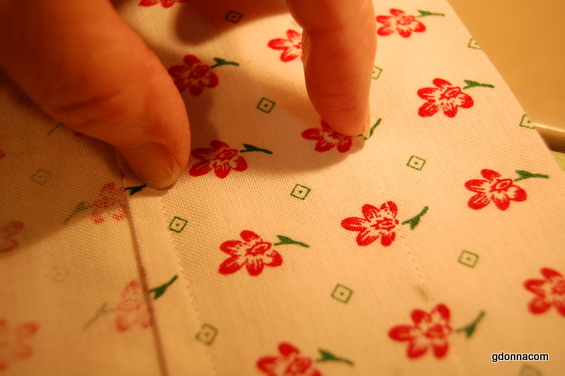
Now this is where the rod will go through and the top is the ruffle. We will move on to the hem at the bottom of the curtain. If you have an extra wide rod you might need to adjust these measurements. This is a standard curtain rod that I am using.
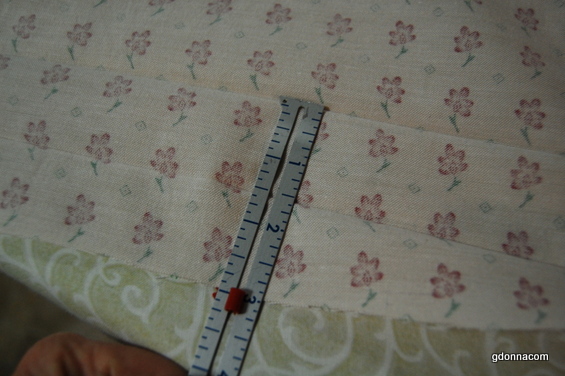
Here I pressed three inches up, opened it up, folded that three inches in half and you can see the pressing marks.

Now fold it back up, fold this then fold again.
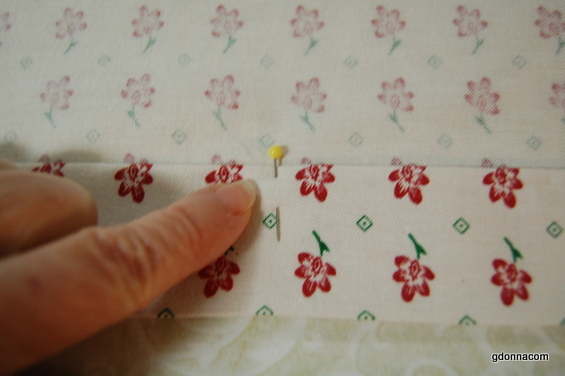
You should have an inch and half hem.
Press pin and sew along the edge. I do my hems like this in case I want to use it at another window or lower the hem or something so there is extra material in this hem.

This is a store bought curtain so you can see how the top is made.
Just remember when making a curtain to measure from the top of the curtain rod to where you want it to end, add 1 and 1/2 inches to that measurement for the top ruffle. Then to that measurement add 4 inches for the top, and 3 inches for the bottom and that will be your cutting length.
Before sewing the hem of the curtain I suggest you hang the curtain and make sure you have everything even and at this time you can adjust the length if you need to.
I warned you I make sewing projects complicated. I hope you can figure this out.
Next post is how to repair lace.
Grandma Donna
