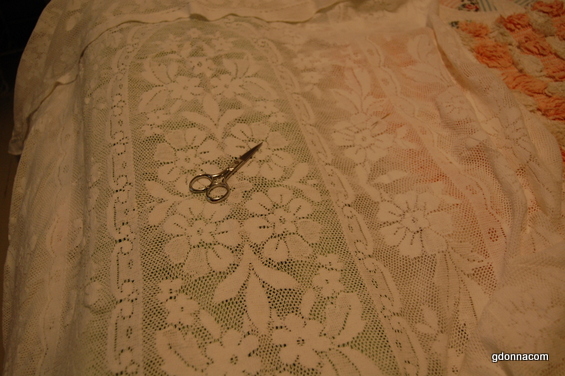
I love just about anything lace but when lace gets a hole or tear it is usually big trouble.
This is a lace cloth to go over a table and it had many holes. It was my mothers. The other day I was getting close to finishing the repairs when I noticed another run that was about to split wide open and be another hole. When I was repairing the holes I did not think to take pictures but I did of this repair.
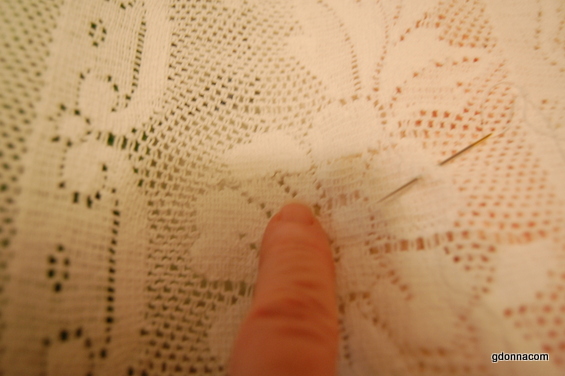
See the line above my finger goes across the tip of the flower.
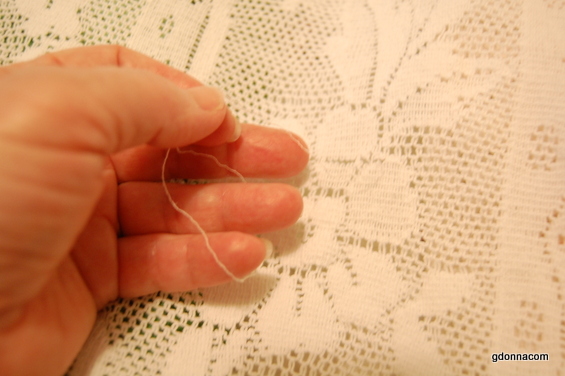
Here is another view, it is at the tip of my third finger from my little finger.

It goes all the way across the top of three top petals. If I put my fingers through this it would be a hole. But I have it lined up. I make bobbin lace and I do tatting so I know a little bit about the cloth stitch and picots etc. But I hardly can even repair the lace I make.

There is probably a better way than I do this but here is what I do. I am anchoring my thread into the cloth stitch of the petal where my needle is.
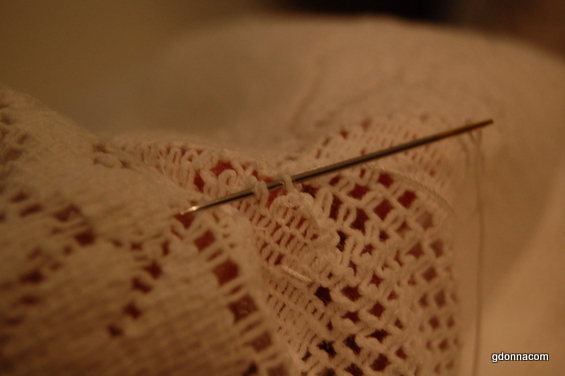
I zig zag my needle and thread until I reach a loose picot. The needle is just going through one picot here and resting between to lower picots.
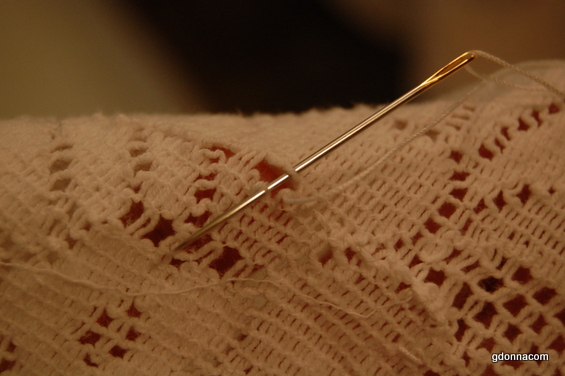
Now I have found the right picot to match the upper and lower to pull it together. I will now catch all the picots that I can and sew across.
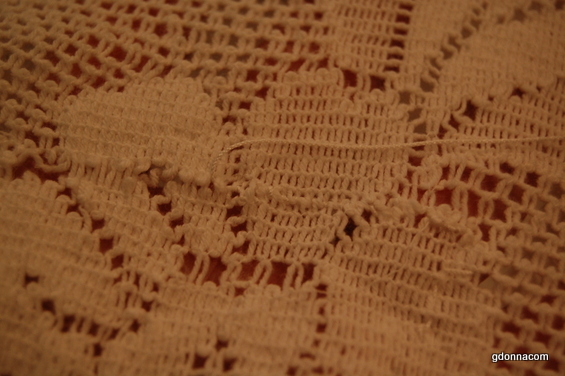
You can see the repair going across the one petal but remember this is magnified with my camera. I could have probably used a smaller thread to do this more proper.
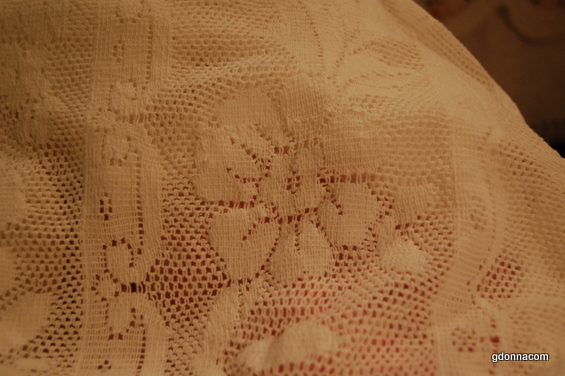
So I finished sewing all the way across catching any picots I could find and if they were pulled out I went below or above and caught the first one I could find and gently sewed together. You can see the repair but it is not bad. This was a very long hole in this lace.
Moving on to a hand sewn rolled hem.
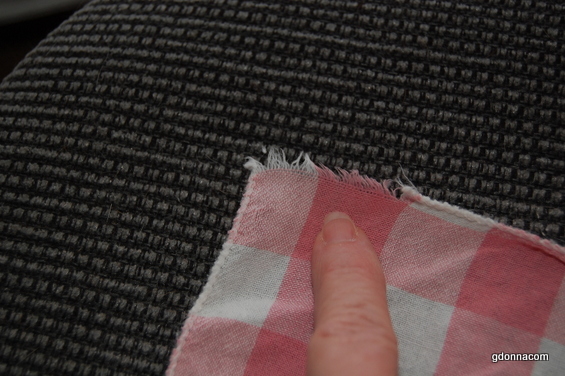
I have this just about worn out dinner napkin and it has a machine rolled hem. This is an old store bought napkin.
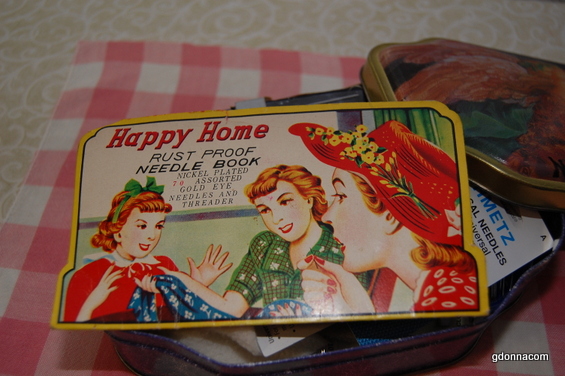
We want a thin needle with this project.
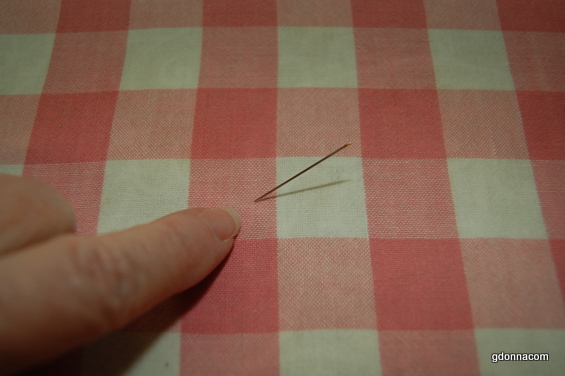
The best way is to push a needle through the fabric and if it goes through well it is a good one.

I cut off the edge that I am going to hem. and then I pressed the fabric.
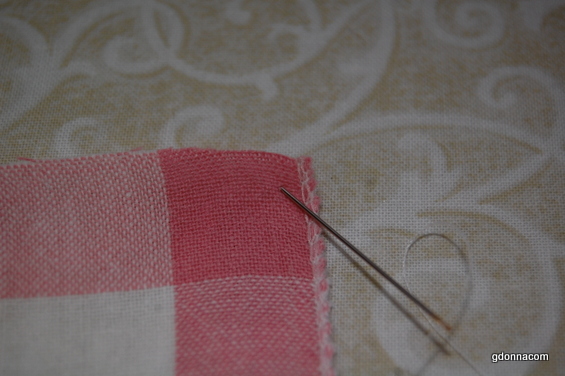
You can go right to left or left to right, depends of if you are left or right handed.
This is magnified so it looks larger than it is.
Start here at the corner and put your needle through about 1/8 of inch down. Push the needle in and pull the thread through the back side.

Like this. This is my end knot and this is single thread also I am using all purpose thread.
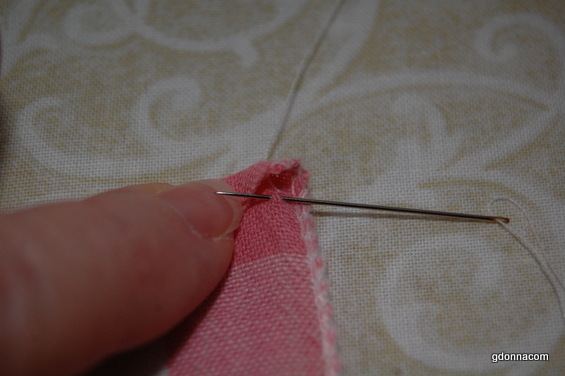
We will now come back down about 1/8 inch and put our needle in like this. This is more like 1/4 inch because 1/8 was too small for you to see. You can do this any size you wish to do.
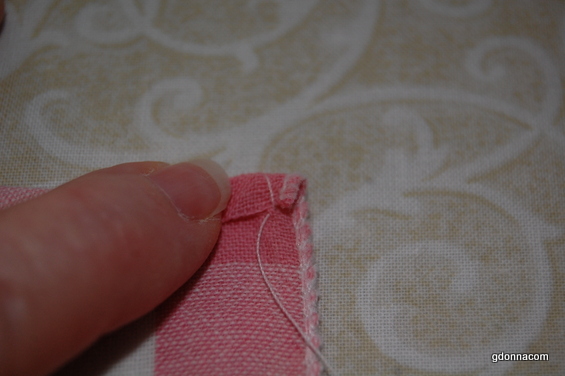
Pull and this makes a loop over the small turned down cloth.
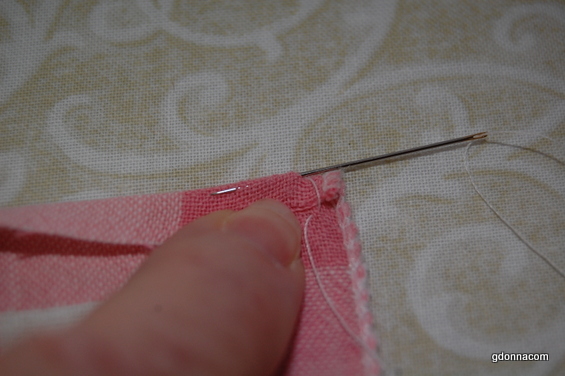
Now go back up and put the needle just beside the top thread and feed the needle between the fabric like a blind stitch.
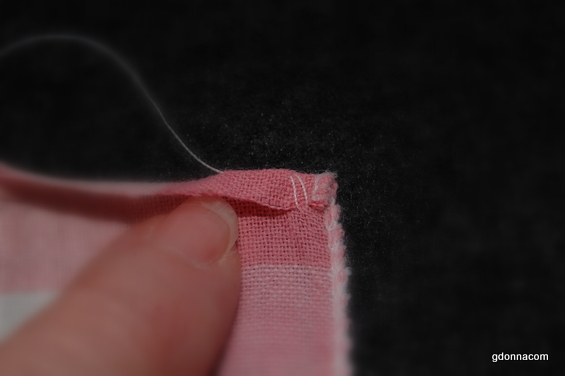
Now gently pull the tread through but very loose.
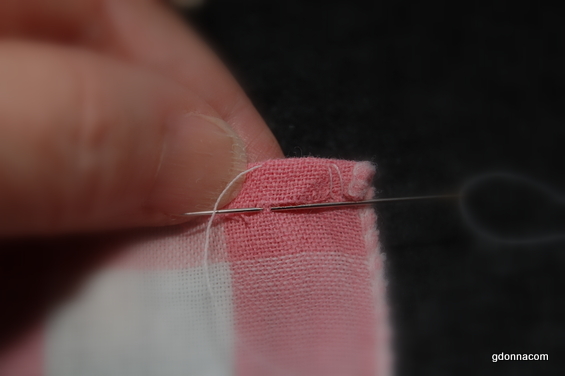
Now go down to the bottom of the fold directly under where the thread came out at the top and take the needle and go through 2 or three fabric threads.
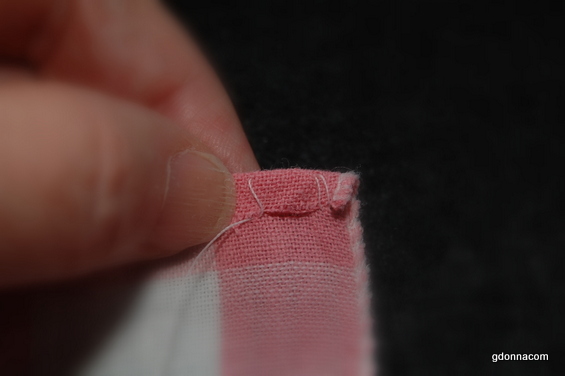
Now pull the tread through but not tight. Stay loose at this point.
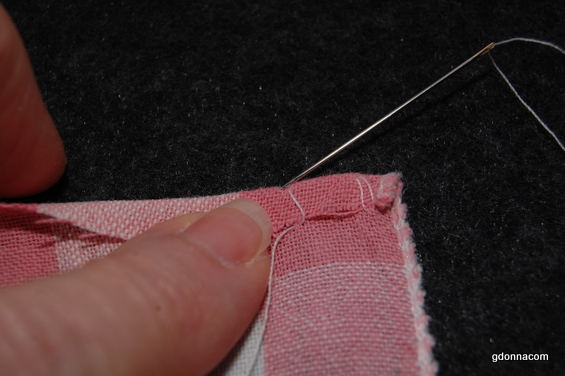 We go back up and once again go through the fabric between the fold, the needle should not be showing on the back side.
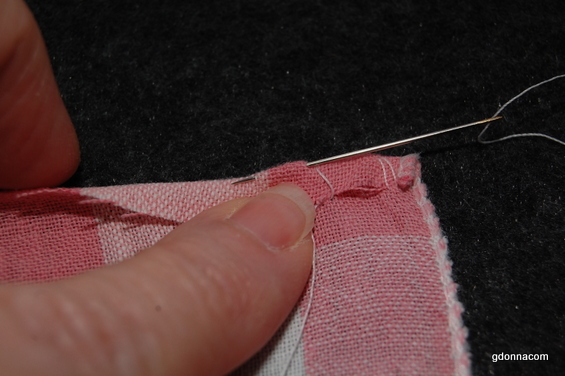
Like this.....
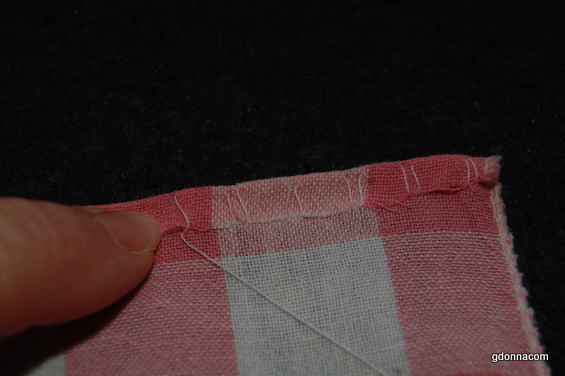
Go back down catch the cloth, go back up, put the needle in for a long hidden stitch until you have about 6 double stitches. End up at the top after you have done a hidden stitch.
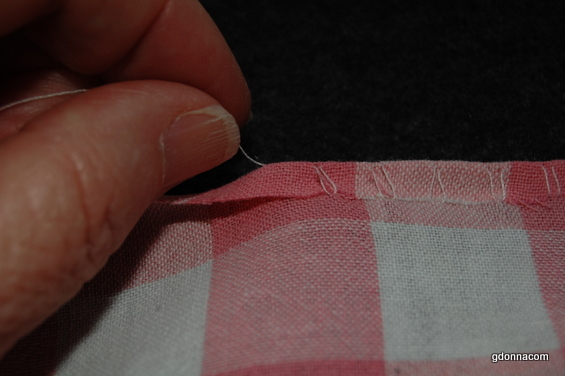
Next we will pull the thread. Hold the other side of the cloth below the hem to support the pulling.
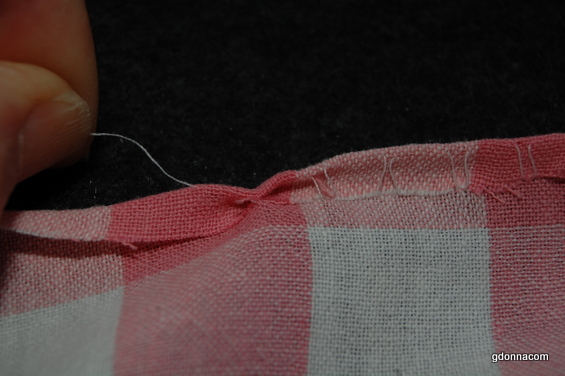
This is the fun part. As you pull, the fabric will fold and turn under. It will have a falling domino effect.
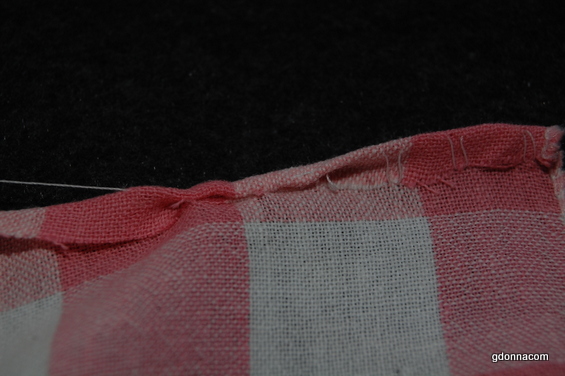
like this....
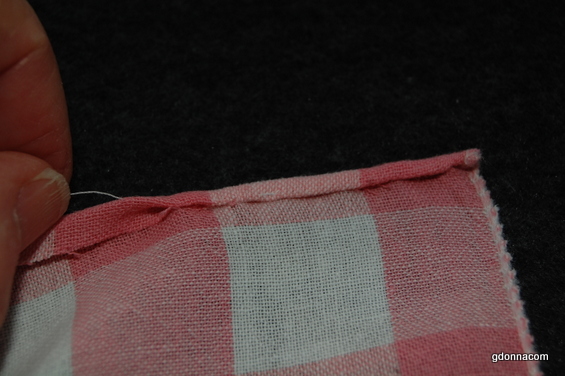
So now we pick up and do about 6 more double stitches, pull and continue until the end.
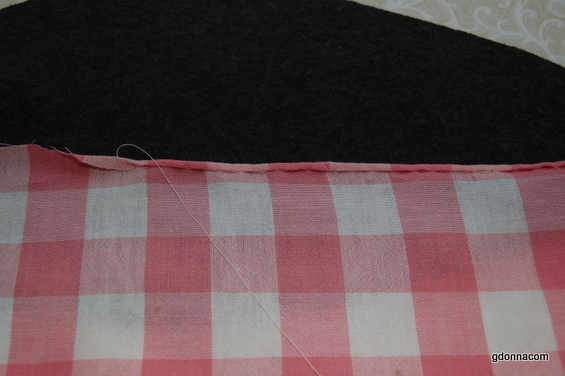
Keep sewing..... always stop at the top to pull, then bring the needle directly below the top.... keep going until finished.
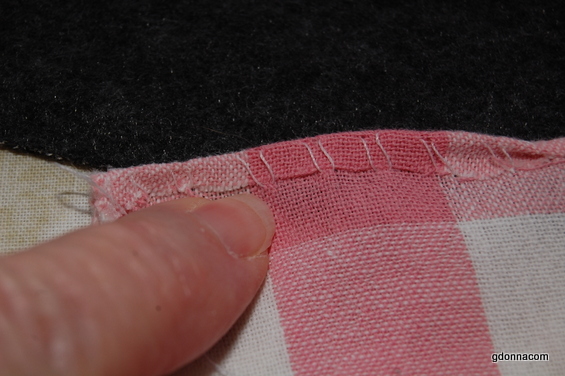
Just showing you a photo of just before I finished the last pull.
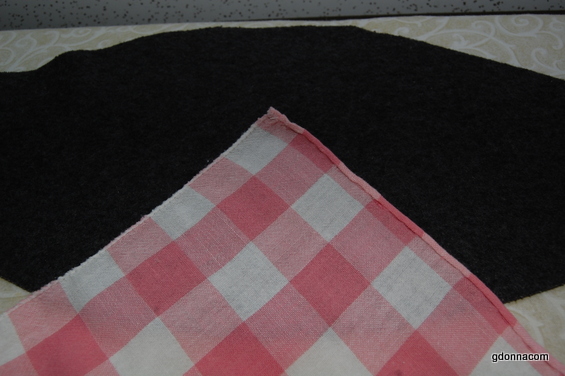
You can fiddle with it then press it down. The hand sewn rolled hem is different than a machine rolled hem but I like it because it is hand sewn with love.
Grandma Donna
